Embarking on a journey in the dynamic world of eCommerce via Shopify brings forth a mix of excitement, anticipation, and the inherent challenges associated with starting a new venture. It’s a journey filled with numerous tasks and elements that, when properly executed, coalesce to form a harmoniously functioning online store.
As an online entrepreneur, you want to make sure that your Shopify store is set up for success. A well-executed Shopify launch can increase traffic, sales, and revenue. You have been working hard on your Shopify store, and now it’s ready to go live. But, the road to starting a Shopify store checklist isn’t devoid of pitfalls and obstacles.
To help you ensure that your store can be found easily and increase the chances of your customers buying, we’ve compiled a comprehensive Shopify launch checklist to ensure your store is ready to go live.
Table of Contents
Overview Of Shopify
Shopify is a popular eCommerce platform that enables entrepreneurs to start and manage an online store. The platform was founded in 2004 and has grown to become one of the most popular eCommerce solutions in the world, powering over 1 million businesses in more than 175 countries.
Shopify offers a range of features and tools designed to help businesses create and manage their online stores, including website templates, payment processing, inventory management, shipping and fulfillment services, and marketing tools.
One of the biggest advantages of using Shopify is its ease of use. The platform is designed to be user-friendly, allowing entrepreneurs with no technical experience to set up and launch their online store quickly. Additionally, Shopify offers a variety of resources and support to help businesses succeed, including an extensive app store, tutorials, and 24/7 customer support.
In addition, Shopify offers a variety of subscription plans to suit the needs of different businesses. These plans include Shopify Starter, Shopify Lite, Basic Shopify, Shopify, and Advanced Shopify, with prices ranging from $5 to $299 per month depending on the selected plan.
For businesses that are unsure about committing to a subscription, Shopify also offers a 3-day free trial for all new users. This limited-time offer provides an opportunity to explore all of Shopify’s features without any cost. Businesses can also customize their plan based on their specific requirements, allowing them to only pay for the features they need.
Overall, Shopify is a powerful eCommerce solution that offers a range of features and tools to help businesses succeed online. With its user-friendly interface, extensive resources, and customizable pricing plans, Shopify has become a popular choice for businesses of all sizes looking to establish and grow their online presence.
The Essential Shopify Store Launch Checklist
Starting a Shopify store checklist involves many different components, and even if you have already invested a significant amount of time in building your store and adding products, let’s look at the essential Shopify store launch checklist to take. Without a comprehensive Shopify launch checklist to guide you, it is all too easy to overlook important details. If you do launch your store without completing a critical step, it could end up costing you revenue.
A Shopify launch checklist typically can help you ensure a wide range of tasks and considerations, such as:
- Design and Branding: Ensure that the store’s design and branding elements are consistent and visually appealing.
- Product Catalog: Check that all products are listed with accurate descriptions, images, and pricing.
- Payment and Shipping: Verify that payment and shipping options are set up correctly and functioning properly.
- Legal Compliance: Confirm that the store is compliant with relevant laws and regulations, such as data privacy and consumer protection laws.
- Analytics and Tracking: Set up analytics and tracking tools to monitor the store’s performance and identify opportunities for improvement.
- Marketing and Promotions: Plan and execute marketing and promotional activities to drive traffic and sales.
By meticulously following a comprehensive Shopify launch checklist, businesses can significantly enhance their prospects of a seamless and successful store launch, laying down a robust foundation for sustained growth and success in the ever-evolving eCommerce ecosystem.
Pre-Launch Preparation
Add Domain Name
The pre-launch phase is the cornerstone of your Shopify store’s success, a time to align every cog in the machine seamlessly, ensuring a smooth operational flow once the store goes live. During this critical phase, utilizing a checklist for launching Shopify store is indispensable. This comprehensive checklist serves as a roadmap, guiding you through each crucial step, from fine-tuning the design elements and optimizing the user experience to ensuring the security and functionality of the payment gateways.
By adhering to this checklist before launching Shopify store, merchants can proactively address any potential issues, ensuring each component is optimized, tested, and ready to function flawlessly, paving the way for a successful and stress-free store launch.
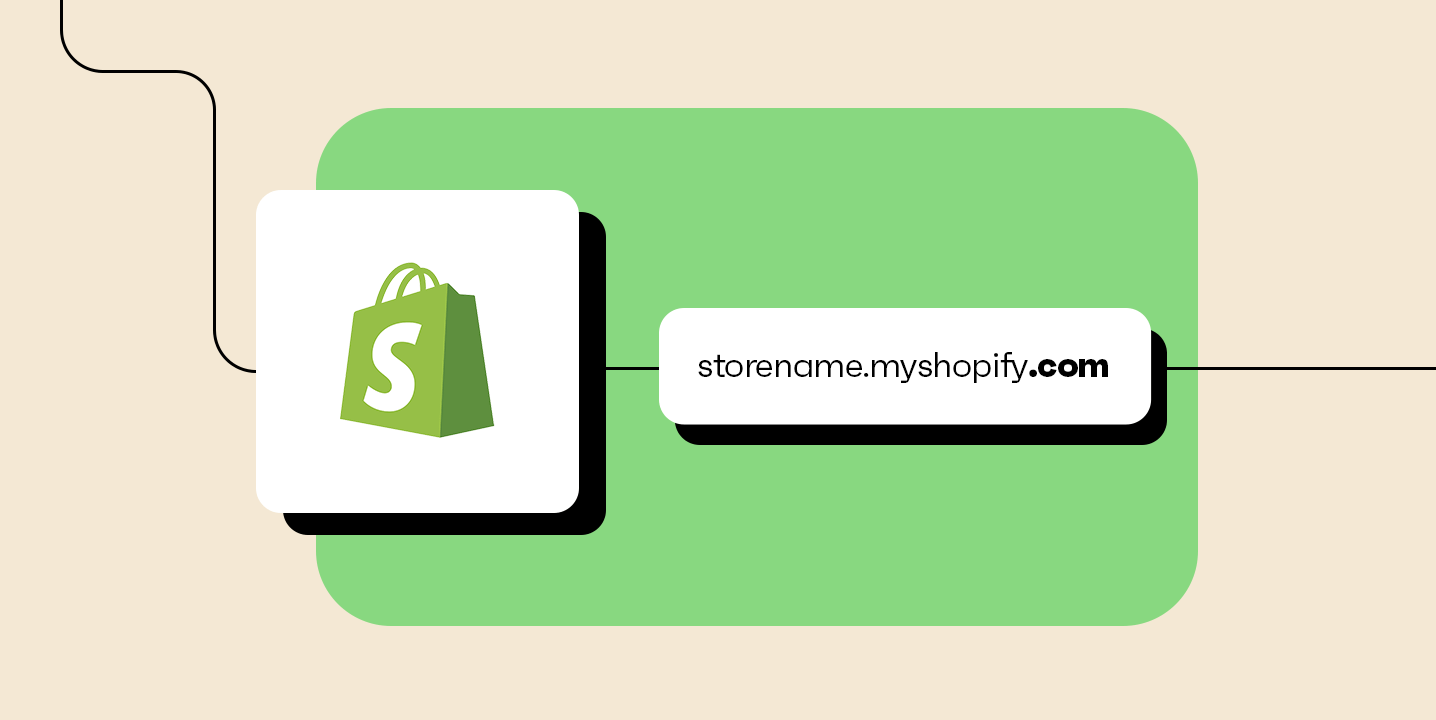
When preparing the Shopify launch checklist, adding a domain name is a crucial step in establishing your online presence. Your domain name is more than just the virtual address that leads customers and search engines to your online store. They play a crucial role in enhancing your brand recognition and awareness. So it is essential to choose a name that is easy to remember and relevant to your brand.
Before you can add a domain name, you will need to choose one that is available and relevant to your brand. Shopify offers a domain name generator tool that can help you come up with ideas and check availability. However, don’t feel too pressured about this step, you can modify your domain name whenever you want.
Once you have chosen your domain name, you will need to purchase it. Shopify offers domain name registration, and you can purchase a domain name through Shopify or a third-party provider. The price of each domain starts from $14 a year and you can cancel anytime you want.
After purchasing your domain name, you will need to connect it to your Shopify store. To do this, go to your Shopify admin panel, and click on Online Store > Domains. Click on Connect Existing Domain and follow the prompts to connect your domain to your store. Once your domain is connected, you will need to set up your domain settings. This includes setting up your primary domain, configuring SSL, and setting up subdomains (if needed).
When considering the checklist before launching Shopify store, remember that you will need to verify your domain ownership to ensure that you are the rightful owner of the domain. Shopify provides instructions on how to verify your domain ownership through your domain provider.
Creating A Product Catalog And Setting Up Collections
Your product catalog is essentially the backbone of your online store, and to prepare a Shopify launch checklist it’s essential that you organize your products and set up collections in a way that makes sense to your customers.
To create your product catalog, you’ll first need to add your products to Shopify. The process is quite straightforward and there’re a few different ways to do that. You can add products manually, one at a time. This way is best suited for a company that has a small SKU amount and you want to have more control over the product information displayed on your storefront.
Another way is to add products using a CSV file, this way is best when you have multiple SKUs that need to be added. Adding products involves adding product descriptions, prices, and images. It’s important to make sure that all of the information you include is accurate and up-to-date, as this will be the information that customers will rely on when making purchasing decisions.
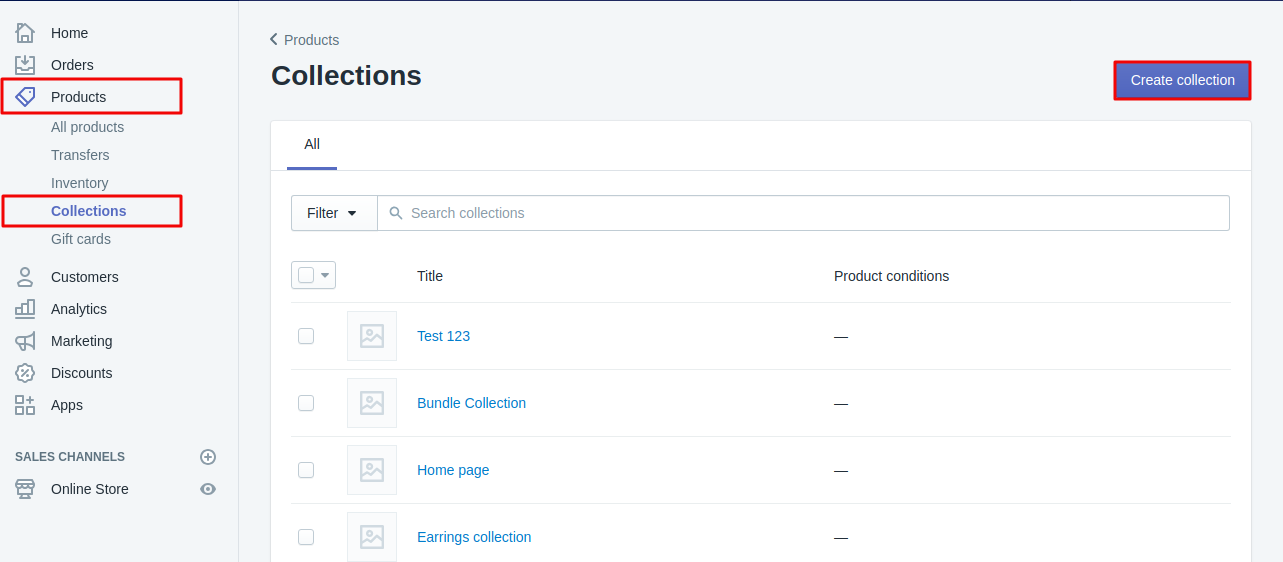
The next step when preparing Shopify launch checklist is to set up collections. Collections are essentially groups of products that are organized by category or theme. For example, if you sell clothing, you might have collections of men’s clothing, women’s clothing, and children’s clothing. Organizing your products into collections makes it easier for customers to find what they’re looking for, and it also makes it easier for you to manage your inventory.
When setting up your collections, be sure to give each collection a clear and descriptive name, and make sure that each product is assigned to the appropriate collection. You can also add images and descriptions to your collections to help make them more visually appealing.
Choosing And Customizing The Theme
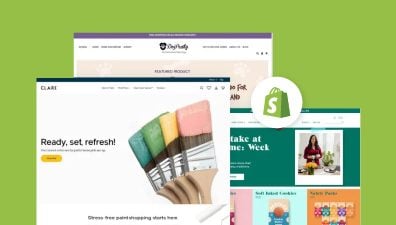
Selecting and tailoring the theme of your online store is a crucial step in establishing your brand’s presence and identity in the eCommerce space as your Shopify store’s theme is the first thing that visitors will notice when they land on your website.
This process is not merely about aesthetics; it’s about creating a coherent and user-friendly environment that can captivate and retain customers. When embarking on this pivotal task, incorporating a checklist for Shopify store theme selection and customization becomes paramount. This checklist Shopify store ensures that the chosen theme aligns with your brand’s ethos and vision while offering optimal functionality and responsiveness.
Fortunately, Shopify has a wide range of free and premium themes to choose from, and you can customize them to make them truly unique. By adhering to a thoughtful and comprehensive Shopify launch checklist, retailers can create a compelling and unique storefront that resonates with their target audience and stands out in the competitive online marketplace. Below are some common factors that you should consider when choosing a theme for your store:
- Functionality: Does the theme have all the features you need for your store? Does it support your business model?
- Design: Does the theme reflect your brand and appeal to your target audience? Is it visually appealing?
- Customization: Can you customize the theme to make it unique? Can you change the color scheme, fonts, and layout?

Once you’ve selected a theme, you should customize it to match your brand’s look and feel. Why do you settle for a general design that looks like everyone else’s while you are completely free to customize and make that theme become yours? With a little effort, you can use Shopify’s built-in Theme Editor to make changes to the theme’s layout, color scheme, typography, and more. You can also add custom images and videos to make your store stand out.
When concerning a checklist Shopify store, it’s important to keep your target audience front and center. Make sure that your theme is easy to navigate and user-friendly. You don’t want to overwhelm your visitors with too much information or a cluttered design.
And if you have coding experience, that would be so great. You have more ability to customize your Shopify theme to a higher level. With just a few lines of code added to your store’s theme, you can create a unique and memorable shopping experience for your customers. However, almost all Shopify merchants have zero-coding experience. Now, you may need the expertise of a skilled Shopify developer or designer to ensure that you get the most out of your store’s design and functionality.
Setting Up Payment Gateways And Shipping Methods
Without integrating payment gateways and shipping methods, customers will not be able to complete transactions and receive their purchases. Therefore, it’s essential to ensure that you have the Shopify launch checklist and choose the appropriate payment gateway and shipping methods that align with your business needs and customer preferences.
Payment gateways allow your customers to pay for their orders securely and conveniently. Shopify offers more than 100 payment gateways to choose from, including Shopify Payments, PayPal, Stripe, and many others. If you are new to the world of eCommerce, we highly suggest utilizing Shopify Payments as it is the simplest and most straightforward way to begin accepting payments through your Shopify store.
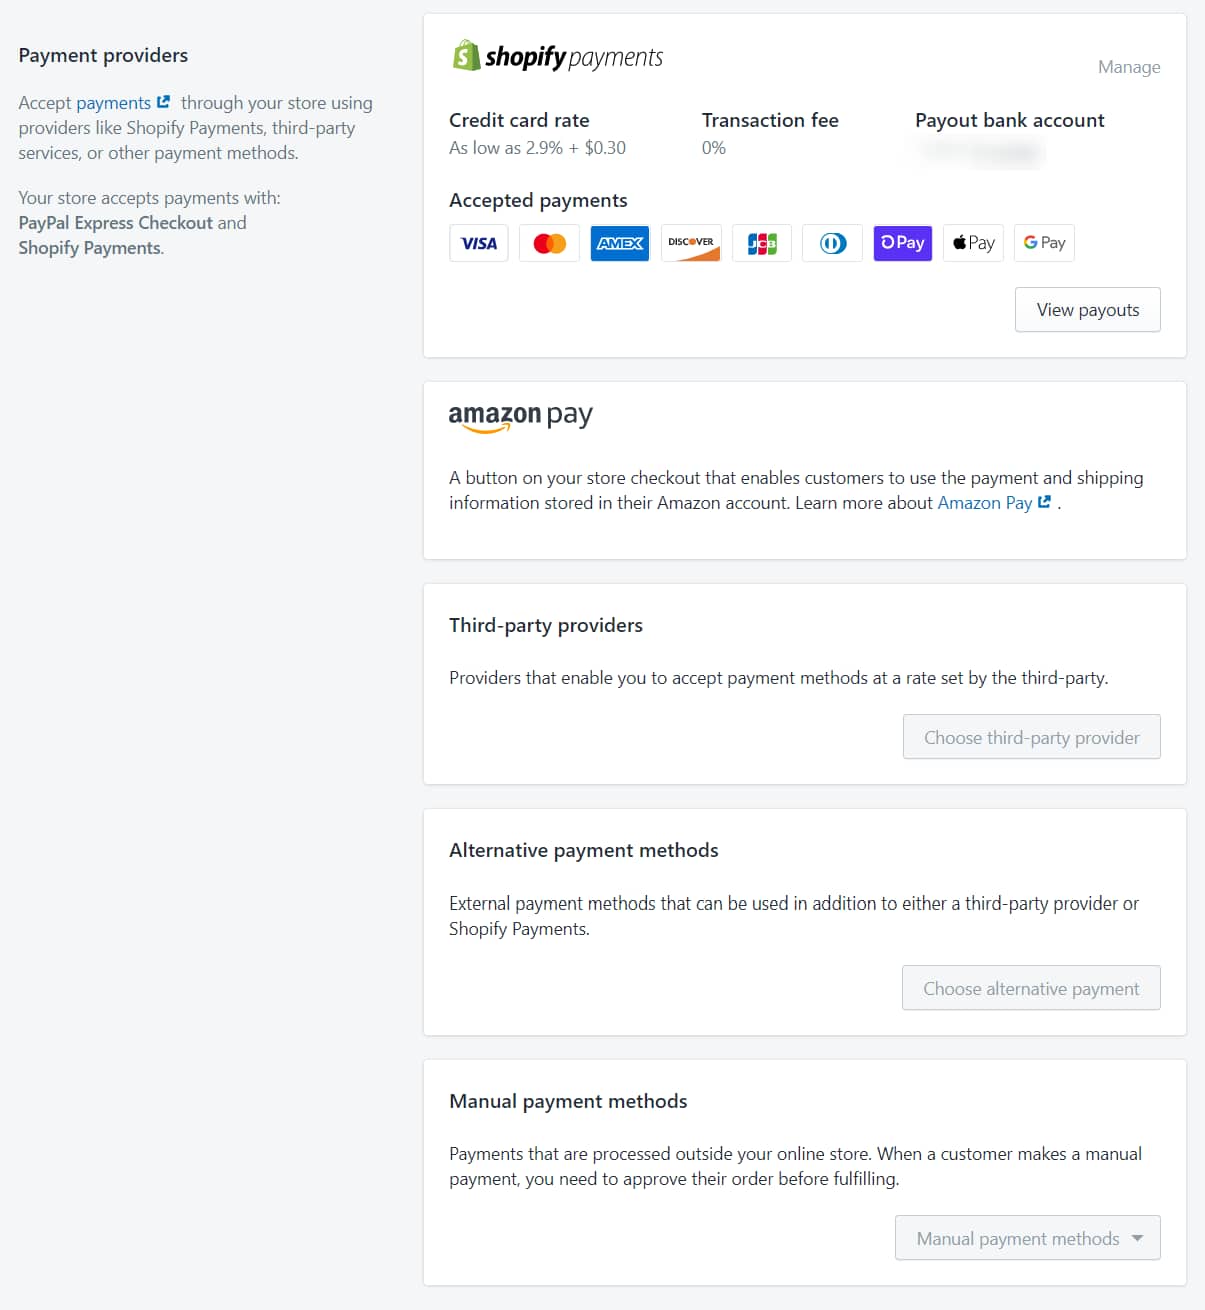
To set up payment gateways in your Shopify store as a part of the Shopify launch checklist, you first need to access your Shopify admin panel and navigate to the Settings tab. From there, select Payment Providers and choose the payment gateway you want to use.
If you choose Shopify Payments, you will need to provide some additional information to complete the setup process, such as your business details and bank account information. Shopify Payments also offers features such as fraud analysis and chargeback protection, making it a popular choice among Shopify store owners.
If you choose a third-party payment gateway such as PayPal or Stripe, you will need to create an account with that provider and enter your account details into your Shopify admin panel. Once set up, customers will be able to choose their preferred payment method at checkout, and you will receive the funds directly into your chosen account.
It’s important to note that different payment gateways may have different transaction fees and processing times, so be sure to do your research before making a final decision. It’s also a good idea to test your payment gateway before launching your store to ensure everything is working correctly.
Shipping methods, this is also a crucial element when considering the Shopify launch checklist. First, you’ll need to determine what shipping options you want to offer your customers. This may include standard shipping, expedited shipping, or free shipping for orders over a certain amount.
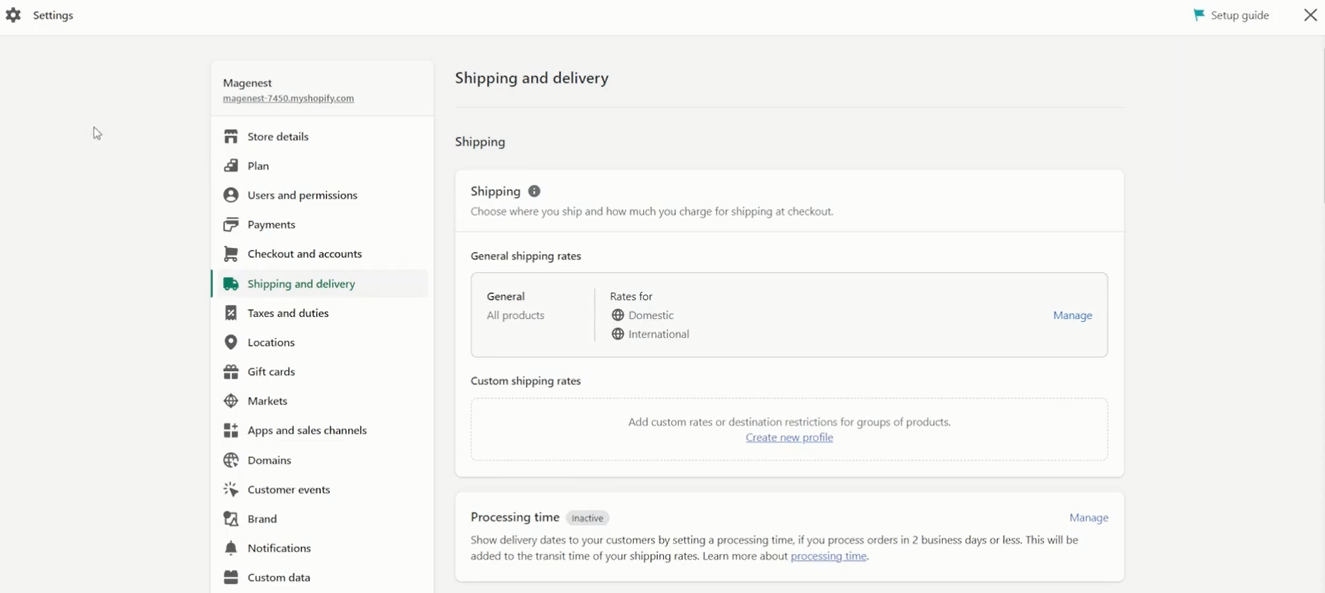
The next step when preparing Shopify store checklist about shipping is that you’ll need to set up shipping zones based on the locations you’ll be shipping to. Shopify offers a variety of tools to help you create shipping zones and rates, including carrier-calculated shipping rates, which can be automatically calculated based on the customer’s location and the weight and dimensions of their order.
To set up your store’s shipping methods and options, you can access the Shipping and delivery section by logging in to your Shopify admin and going to Settings. From there, you can easily configure your shipping costs, zones, and methods to ensure a seamless shopping experience for your customers.
In addition to shipping options and zones, you also need to consider the packaging and handling of your products, as this can impact the shipping rates you charge. You may need to invest in shipping materials, such as boxes or envelopes, and factor in the time it takes to package and prepare orders for shipment.
Configuring Taxes And Legal Policies
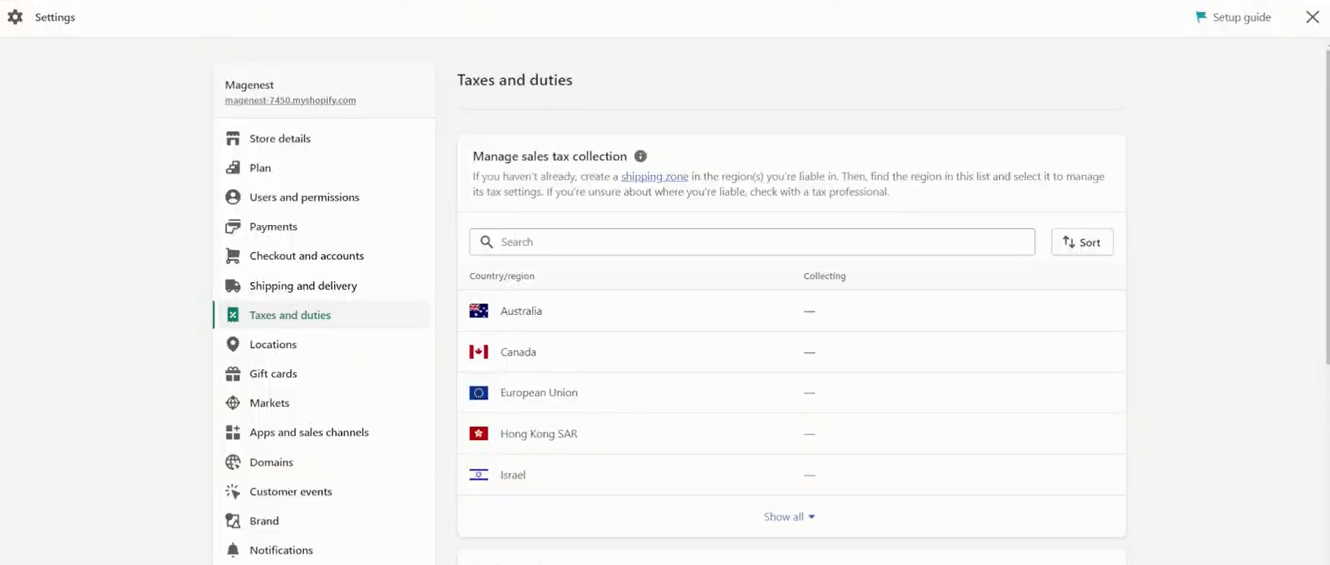
You need to double-check your store tax setting and legal policies in the Shopify launch checklist before launching. It is essential to ensure that your store is compliant with the laws and regulations of your jurisdiction.
To configure taxes, go to Settings > Taxes in your Shopify admin and enter the appropriate tax rates for your region. You can also set up tax overrides for specific products or customers if necessary.
In addition to taxes, you’ll also need to set up legal policies such as your privacy policy, terms of service, refund and return policy in your checklist for Shopify store. These policies should be clearly written and easily accessible on your store’s website to provide transparency to customers.
To configure your legal policies, go to Settings > Legal in your Shopify admin and customize the templates provided or create your own policies. It’s always a good idea to consult with a legal professional to ensure your policies are compliant with local laws and regulations.
Add Store Pages
In the Shopify launch checklist, it’s essential to create a few standard pages to inform customers about your business. Research indicates that consumers have concerns related to products, customers, and society. The majority of people trust a brand based on the quality of the products (88%), while positive ratings and reviews also have a significant impact (63%). More than half of consumers state that brands that prioritize customer service earn their trust.
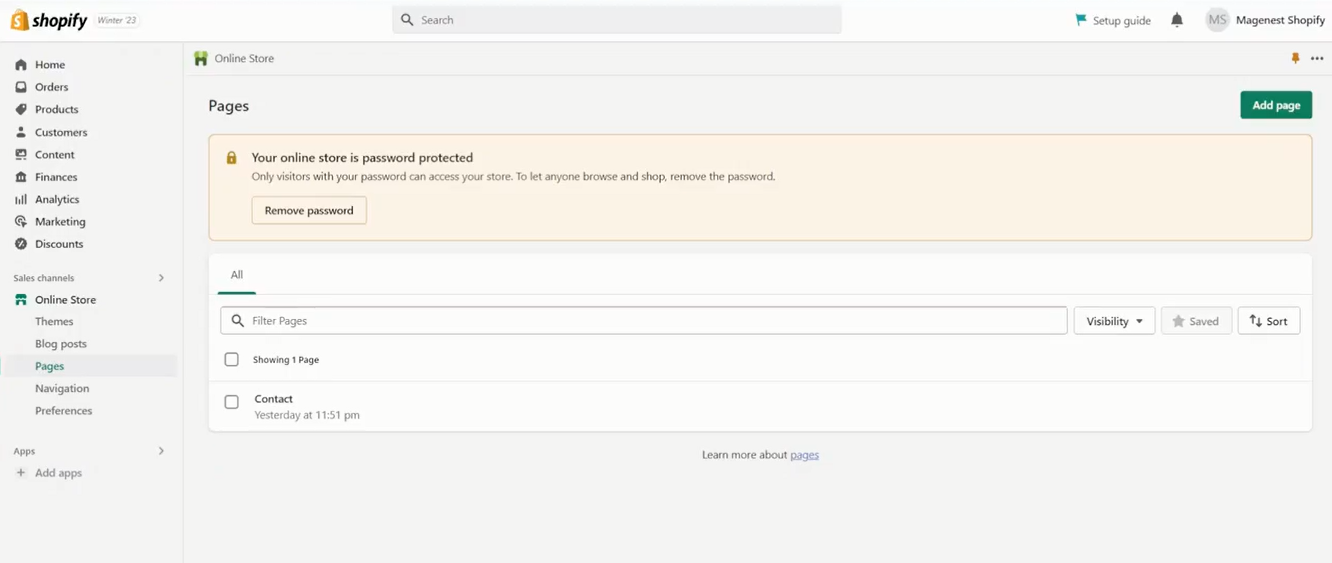
Considering the aforementioned information, it is essential to have certain standard pages on your website that include relevant content. The following are the minimum required standard pages in the Shopify launch checklist:
- About Us page: This page should tell the story of your brand and give customers a sense of who you are and what you stand for. Despite being overlooked by many store owners, it can be used as a powerful sales tool. This page reassures customers that your store is genuine, encouraging them to invest in your brand long-term. Additionally, customers often prefer shopping with businesses that share similar values. By sharing your mission and company values on your About page, you can connect with new customers who support the same causes.
- Contact Us page: This page should provide customers with a way to get in touch with you, whether that’s through an email address or phone number. Additionally, add links to your social media accounts, and include a contact form to allow people to reach out to you directly from the page. If you have different points of contact, such as for general inquiries, press, or wholesale, be sure to specify who customers should contact for each issue.
- Shipping and Delivery page: This is the place where you provide details on how and when your products will be shipped and delivered. Be clear on shipping rates, whether you offer free shipping or not, and how long it will take for orders to be fulfilled and delivered. This information is crucial for customers when making purchasing decisions. You should also include information on your shipping policies, such as whether you ship internationally, and any additional charges that may apply. Being transparent and detailed on this page can help avoid misunderstandings and reduce customer inquiries related to shipping and delivery.
- Returns and Refunds page: This page should explain your returns and refund policies, including any conditions or restrictions. This page is crucial to building trust with your customers and helping them feel confident when making purchases from your store. Make sure you provide clear instructions on how to initiate a return, how refunds are processed, and how long the process typically takes.
- Privacy Policy page: This page should outline how you collect, use, and protect customer data. It is crucial to have a clear and comprehensive Privacy Policy that covers all the necessary information, including data collection, cookies, analytics, and third-party services. The page should also outline how customers can access, update, or delete their personal information, as well as how you respond to data breaches or security incidents. A well-crafted Privacy Policy can help build trust with your customers and demonstrate your commitment to protecting their privacy.
Store Optimization
Testing The Store For Mobile Responsiveness And Browser Compatibility
In the checklist for Shopify store, to ensure the best user experience for your customers, it is important to test your Shopify store for mobile responsiveness and browser compatibility. With the majority of internet users accessing websites through mobile devices, it’s important to ensure your store looks and functions well on mobile devices. Additionally, you want to ensure that your store works seamlessly across different web browsers.

To test for mobile responsiveness, use Shopify’s built-in responsive design checker, which allows you to preview your store on different devices and screen sizes. Another way is that you can utilize the Mobile-Friendly Test, a tool developed by Google, to check the friendliness of your website’s mobile version. You can also test your store on your own mobile device to get a better sense of how it performs.
To test for browser compatibility, view your store on different browsers such as Google Chrome, Firefox, Safari, and Microsoft Edge. Ensure that all features and functionalities work as intended on each browser.
By testing for mobile responsiveness and browser compatibility, you can optimize your store for a wider range of potential customers and provide a seamless shopping experience across all devices and browsers.
Optimizing Page Speed And Performance
Optimizing page speed and performance is a critical component in the Shopify launch checklist, designed to enhance user experience and satisfaction. Slow-loading pages can significantly impact bounce rates and overall user engagement, potentially leading to lost sales and diminished customer trust.
By following the guidelines outlined in the Shopify launch checklist, merchants can optimize images, leverage browser caching, and minimize HTTP requests, ensuring swift and smooth page loads and interactions.
Here are some recommendations you can check as the checklist for launching Shopify store to optimize your store’s page speed and performance:
- Minimize image size: Large image files can significantly slow down your website’s loading time. Use image compression tools to reduce the file size of your images without compromising on quality.
- Use a content delivery network (CDN): A CDN can help reduce the load time of your website by distributing your content across multiple servers around the world.
- Use a fast and responsive theme: Choose a theme that is optimized for speed and mobile responsiveness. Avoid using themes with bloated code or unnecessary features that can slow down your website.
- Optimize your code: Minimize your HTML, CSS, and JavaScript files by removing unnecessary code and whitespace. Use tools like Google PageSpeed Insights to identify areas for improvement.
- Use lazy loading: Lazy loading allows your website to load images and other media as the user scrolls down the page, rather than loading everything at once.
- Reduce HTTP requests: Every time a user loads a page on your website, their browser sends a request to the server for each element on the page, including images, stylesheets, and scripts. Minimize the number of requests by reducing the number of elements on each page.
Setting Up SEO Features And Optimizing Product Descriptions
Oberlo’s research has revealed that 46% of product searches originate from Google. Therefore, enhancing your store’s Google search ranking with ultimate Shopify SEO checklist will increase the likelihood of receiving more orders. In the long run, a well-executed Search Engine Optimization (SEO) strategy can effectively draw more visitors to your store and ultimately boost sales.
Thus, to ensure that your Shopify store is visible to potential customers, it’s important to optimize it for search engines in the checklist for launching Shopify store. This includes setting up SEO features such as meta titles and descriptions, as well as optimizing your product descriptions with relevant keywords and informative content. Here are some tips to help you with Shopify SEO:
- Use descriptive and unique product titles: Make sure your product titles are descriptive and include important details like the brand name, model number, color, and size.
- Optimize product descriptions: Use clear and concise descriptions that include important keywords related to your product. Avoid duplicate content and keep your descriptions unique.
- Use high-quality product images: Use high-quality images that showcase your products from different angles. Make sure your images are compressed for faster load times.
- Use relevant keywords: Research keywords that are relevant to your products and use them in your product titles, descriptions, and tags. Don’t stuff keywords as it can hurt your SEO.
- Set up meta titles and descriptions: Use unique meta titles and descriptions for each page on your store. Make sure your titles and descriptions are descriptive and include relevant keywords.
- Submit sitemap to search engines: Submit your sitemap to search engines like Google to help them crawl and index your site faster.
- Use Shopify’s SEO features: Use Shopify’s built-in SEO features like URL redirects, canonical tags, and meta tags.
Especially when optimizing your product descriptions, focus on providing detailed and accurate information about your products. Use relevant keywords in your descriptions, but avoid keyword stuffing as this can actually hurt your search engine rankings. Additionally, include high-quality product images and consider using video content to showcase your products
Integrating Social Media And Email Marketing Tools
Incorporating social media and email marketing tools is a crucial aspect highlighted in any Shopify store checklist, playing an integral role in amplifying the store’s online presence and engagement. Social media integration refers to the process of linking your Shopify store to your social media accounts. This includes adding social media icons to your website and allowing customers to share your products on their social media accounts.
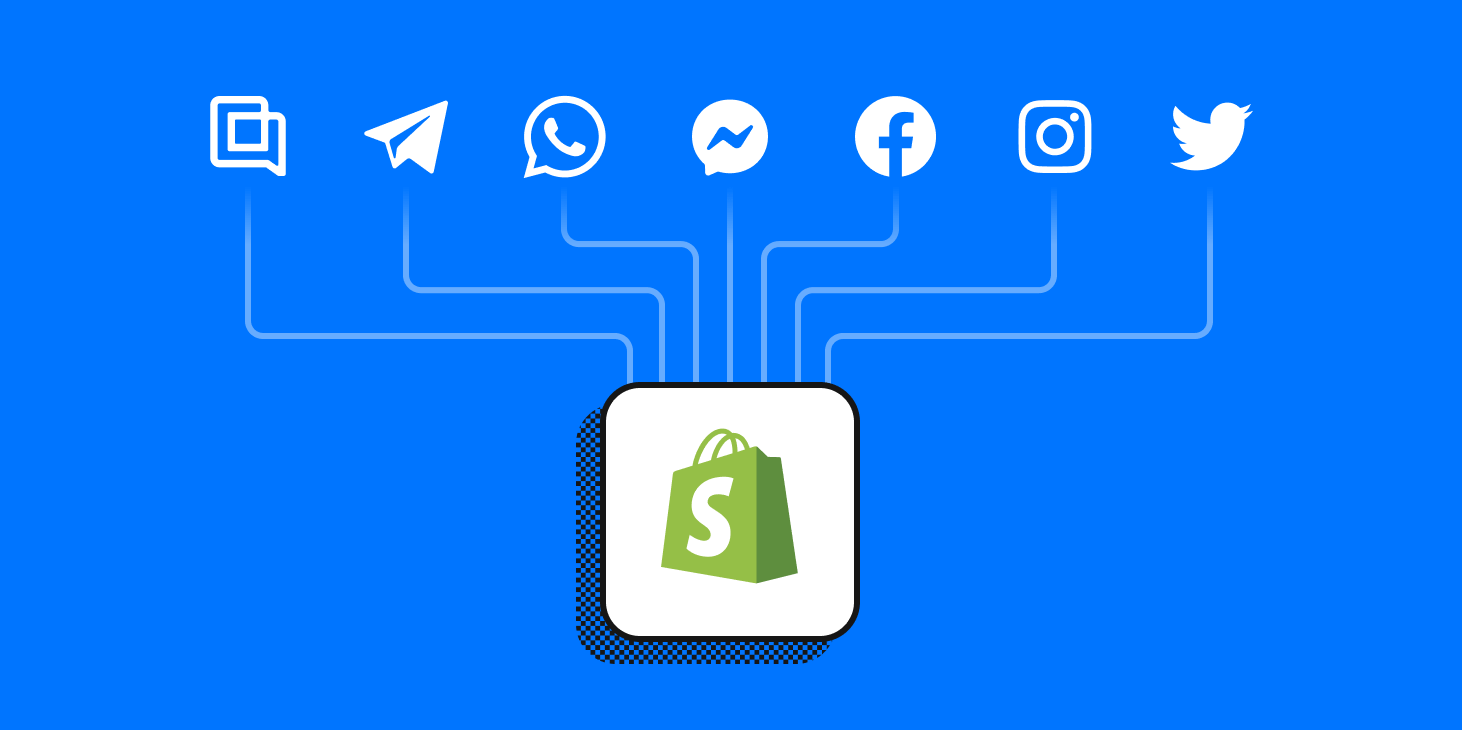
To get started with social media integration, you can try these practices:
- Connect your social media accounts to your Shopify store: This will allow you to promote your products and content on social media, and make it easier for customers to share your products with their own followers.
- Use social media marketing tools to create and manage ads: You can do this on platforms like Facebook, Instagram, and TikTok. This will help you target specific audiences and drive more traffic to your store.
So social media integration can help increase brand awareness, drive traffic to your website, and boost sales. Popular social media platforms for integration include Facebook, Instagram, Twitter, and Pinterest.
Shopify also provides a convenient built-in email system that enables you to send automated emails to your customers based on various triggers, such as new product releases or abandoned carts. These email templates can also be personalized to add a personal touch to your message.
Besides the built-in system, several email marketing platforms, including Mailchimp, Klaviyo, and AWeber, seamlessly integrate with Shopify. These platforms offer marketing capabilities and the ability to send manual, trigger-based emails, such as welcome emails to new subscribers.
Shopify Launching
Test Store
Executing thorough testing of your online shop is a crucial step in the checklist Shopify store, ensuring that all components, from product listings to checkout processes, are functioning optimally before the store goes live. This involves scrutinizing every element of the store, including links, buttons, navigation, and transaction processes, to identify and rectify any glitches, errors, or areas of improvement.
If your customers face any issues while placing orders on your Shopify store, all your efforts would be wasted. Issues could range from coupons not working, shipping prices not updating, or payment gateways being down. These issues can lead to abandoned carts and ultimately result in lost sales. Therefore, it’s crucial to test your shopping cart and checkout process thoroughly before launching your store.
To ensure everything works correctly, you can create a dummy account and place an order. Alternatively, you can ask friends or family members to place an order on your store and provide you with feedback. Below are some factors that you should consider in the process of testing:
- Test your shopping cart: Make sure your shopping cart is working correctly, including adding items to the cart, updating cart contents, and removing items.
- Test your checkout process: Make sure your checkout process is smooth and easy to navigate. Test each step of the process, including filling out customer information, selecting shipping and payment options, and placing an order.
- Test your payment gateway: Ensure that your payment gateway is working correctly, and transactions are being processed without any issues.
- Test your coupon codes: If you plan to offer coupon codes, test them to make sure they are working correctly and applying discounts as intended.
- Test your shipping rates: Ensure that your shipping rates are accurate and updated.
- Test on different devices: Test your store on different devices such as desktops, laptops, tablets, and mobile devices to ensure it is mobile-responsive.
Here is the detailed and comprehensive guidance video on how to test your Shopify store. This resource is particularly valuable for those who are new to Shopify or considering using the platform for their online business. You can take this video as a reference and basic testing practices that can be applied to your own store.
Announcing The Launch To Customers And Followers
After completing all the necessary checks to set up your Shopify store and testing it thoroughly, it’s time to announce the launch of your store to your potential customers and followers. Announcing the launch to customers and followers is an integral step outlined in the checklist for launching Shopify store.
The checklist ensures that you have a well-thought-out announcement strategy in place, utilizing various channels such as email, social media, and possibly influencers, to reach your potential customers effectively.

Here are some suggestions to make a successful announcement:
- Create a Launch Plan: Plan out the announcement in advance, including the date and time, messaging, and channels you will use to spread the word.
- Utilize Social Media: Share the news on your social media platforms, such as Facebook, Twitter, and Instagram. Use eye-catching graphics and engaging captions to attract attention.
- Email Marketing: Use your email list to inform subscribers about the launch of your store. Consider offering a special discount or promotion to incentivize them to visit your store.
- Partner with Influencers: Collaborate with influencers who align with your brand and target audience to spread the word about your store.
- Create Buzz: Host a launch event, offer exclusive pre-launch discounts, or organize a giveaway to create excitement and encourage visitors to your store.
- Monitor and Respond: Be prepared to respond to any questions or feedback you receive from customers or followers. Monitor your social media channels and email inbox closely in the days following your launch.
Post-Launch Checklist
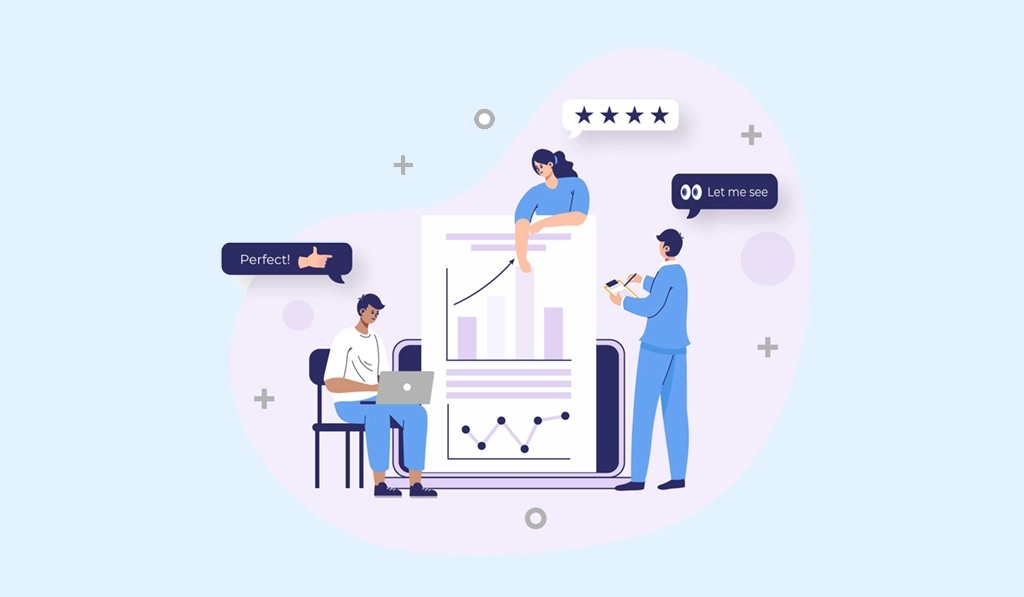
Reviewing Store Analytics And Monitoring Sales Performance
It’s crucial to set up analytics right from the start of your business when considering a checklist for Shopify store. Analytics provide vital information about your store’s overall performance, such as sales volume, order fulfillment, and customer behavior.
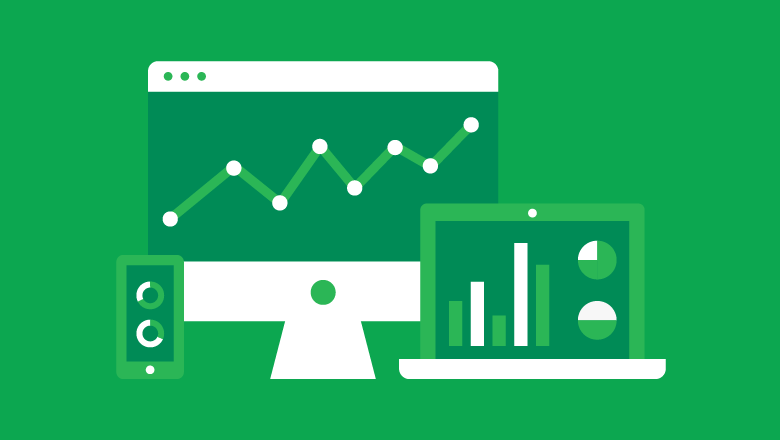
While Shopify offers its own reports and analytic tools, you’re not limited to using those metrics. You can also install other eCommerce analytic tools like Google Search Console, Adobe Analytics, or Google Analytics. You may even combine tools to gain a more comprehensive understanding of your business. Here are some steps in Shopify launch checklist to help you have a comprehensive overview of your store status:
- Set up Google Analytics: Google Analytics can provide valuable insights into how users interact with your website, which pages they visit, and which products they are interested in. Set up Google Analytics on your Shopify store to monitor website traffic, conversion rates, and other key metrics.
- Analyze your sales data: Use Shopify’s built-in analytics to review your sales data, including the number of orders, average order value, and conversion rates. Identify which products are performing well and which ones are not. This can help you optimize your product offerings and pricing strategy.
- Review customer feedback: Monitor customer feedback, including reviews, comments, and emails, to gain insight into their shopping experience. Address any issues that customers raise and take steps to improve their experience.
- Track your marketing campaigns: If you’re running any marketing campaigns, track their performance to determine which channels are driving the most traffic and sales. Use this information to optimize your marketing strategy and allocate your budget more effectively.
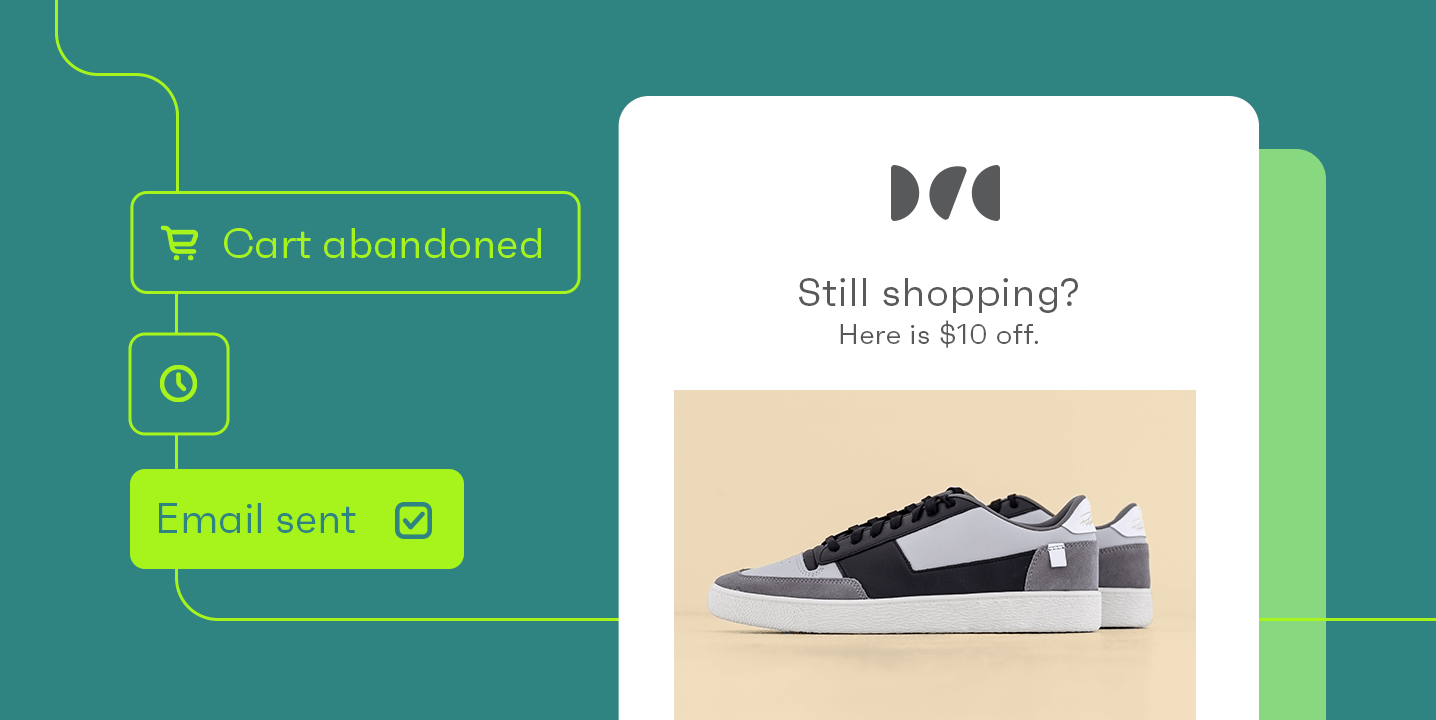
Setting Up Abandoned Cart Recovery And Email Marketing Campaigns
A checklist Shopify store that is really essential is setting up abandoned cart recovery and email marketing campaigns can significantly boost your sales and revenue. When customers leave items in their cart without completing their purchase, you can use abandoned cart recovery tools to recover abandoned checkouts. These tools automatically send them reminder emails, offering discounts or incentives to encourage them to complete the purchase.
Shopify has built-in abandoned cart recovery tools that you can use, or you can install third-party apps for more advanced features. Additionally, in the Shopify launch checklist, setting up email marketing campaigns can help you stay in touch with your customers, keep them updated on new products or promotions, and encourage them to make repeat purchases.
You can use Shopify’s built-in email marketing system or integrate with popular email marketing platforms like Mailchimp, Klaviyo, or AWeber. By sending targeted and personalized emails to your customers, you can increase engagement, build brand loyalty, and ultimately boost your sales.
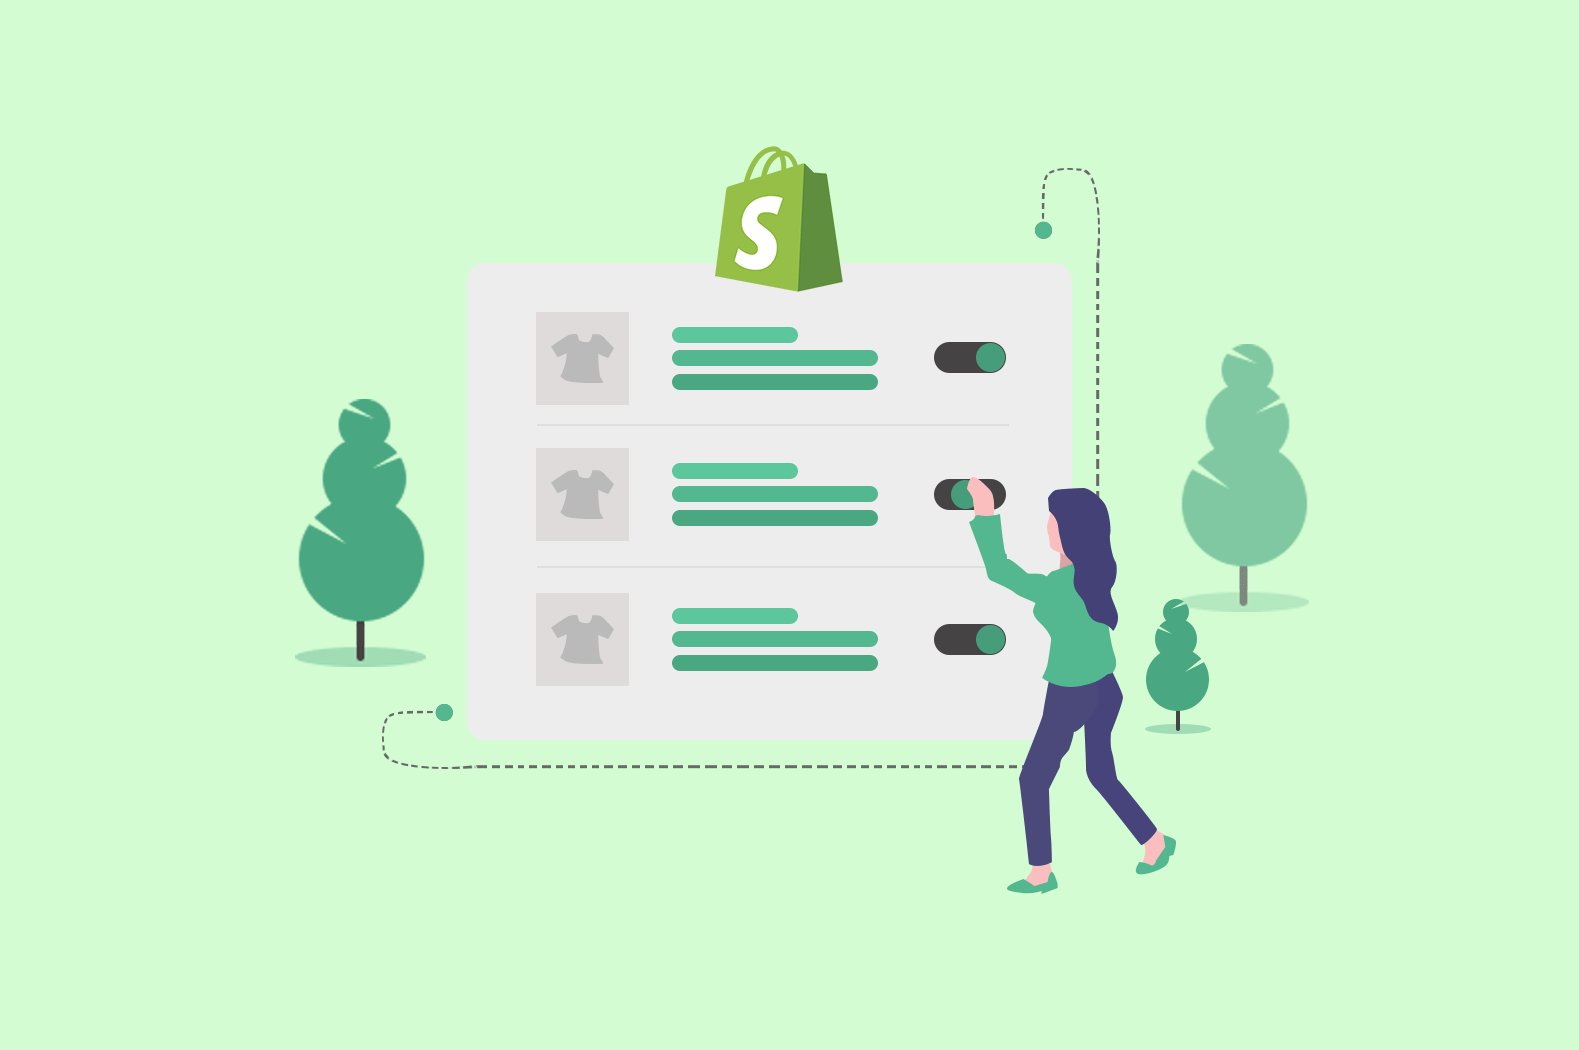
Updating Product Catalog And Collections Regularly
Regularly updating your product catalog and collections is important for maintaining customer interest and driving sales in your Shopify launch checklist. It’s important to keep your inventory up to date by adding new products, removing out-of-stock items, and updating product information as needed.
In addition, regularly reviewing and updating your product collections can help customers find products more easily and increase their chances of making a purchase. You can create collections based on different themes, categories, or product attributes to make it easier for customers to browse and find what they’re looking for.
To make the process of updating your product catalog and collections more efficient, you can use Shopify’s bulk editing and bulk import/export features. This allows you to make changes to multiple products or collections at once, saving you time and effort.
By regularly updating your product catalog and collections, you can keep your store fresh and engaging for customers, which can ultimately lead to increased sales and revenue.
Continuously Optimizing The Store For Better User Experience And Sales Growth
Occasionally testing and tweaking various aspects of your store in the Shopify launch checklist, such as the design, layout, and navigation can lead to increased customer satisfaction and higher conversion rates.
You can also experiment with different marketing strategies, such as running promotions and discounts, to attract new customers and retain existing ones. Additionally, gathering feedback from customers and implementing their suggestions can help improve the overall shopping experience.
It’s important to stay up to date with the latest trends, Shopify tips and technologies in eCommerce and implement them in your store to stay competitive in the market. Regularly monitoring your store analytics and sales performance can help you identify areas that need improvement and adjust your strategy accordingly.
Moreover, you can experiment with new marketing tactics, such as social media campaigns or influencer partnerships, to attract new customers and drive more sales. Always be open to trying new strategies and adapting to changes in the market to stay ahead of the competition and grow your business.
Common Questions When Launching Your Shopify Store
What are the common pitfalls to avoid when launching a Shopify store?
When launching a Shopify store, avoid inadequate market research as it can lead to poor product selection and pricing. Ensure your website design is user-friendly and visually appealing, and don’t neglect mobile optimization to cater to mobile shoppers.
Proper SEO is crucial for visibility, so focus on keyword research and high-quality content. Test all aspects of your store before launch, and ensure you have necessary legal policies in place. Additionally, set up efficient customer support channels to handle issues and maintain customer satisfaction.
What are the key metrics to track on launch day?
On launch day, track traffic volume to gauge initial interest and the effectiveness of your marketing efforts. Monitor your conversion rate to see how well visitors are being converted into customers.
Average order value (AOV) can help identify opportunities for upselling, while the cart abandonment rate highlights issues in the checkout process.
Also, keep an eye on page load speed, customer acquisition cost (CAC), sales revenue, and customer feedback to optimize performance and enhance user experience.
What legal considerations should I keep in mind when launching a Shopify store?
Ensure your business structure is legally registered, and obtain all necessary permits and licenses for operation. Create a privacy policy detailing how you collect and use customer data, and draft clear terms of service to outline website rules and liability limitations.
Develop a transparent return and refund policy, and comply with sales tax regulations in your selling regions. Protect your intellectual property, respect others’ rights, and ensure your website meets accessibility standards like the ADA to provide an inclusive shopping experience.
In Conclusion,
Launching a Shopify store requires careful planning and attention to detail. By following the Shopify launch checklist, you can ensure that your store is optimized for success and ready to receive customers. Concerning the essential Shopify store launch checklist, businesses should ensure to test their store thoroughly, optimize for SEO, integrate social media and email marketing tools, and continuously monitor analytics to make data-driven decisions.
Remember that launching a store is just the beginning of your eCommerce journey, and continuous improvement is necessary to thrive in a competitive market. In case you have any trouble in the process of checking all the criteria in our checklist, feel free to contact us, our Shopify specialists are always available and eager to help you achieve your goals and reach a new higher level.
If you are looking for a merchant to help you develop your online store, feel free to get in touch with our experts as our Shopify experts are more than ready to support you.