In today’s fast-paced world, users expect websites to load quickly, work seamlessly, and offer a great user experience. Progressive Web Apps (PWAs) are an innovative solution that combines the best features of both websites and mobile apps. With PWAs, you can deliver a fast, reliable, and engaging experience to your users, which can help you outrank your competitors in search engines. In this article, we’ll show you how to turn website into PWA and gain a competitive edge in the digital landscape.
Table of Contents
Reasons To Convert Your Existing Website To PWA
Not only does Progressive Web App offer users a host of benefits and convenience, but it has also become the go-to method for many businesses looking to save money while still enjoying success. That’s why more people than ever are converting their web pages into PWA, it is an affordable way to increase visibility and reach.
Famous brands have seen incredible growth in no time due to Progressive Web Application’s notable advantages, such as higher discoverability, reduction of memory usage, cost-effective development, and notably fast offline performance.
Numerous success stories from multiple industries serve as a testament to why every eCommerce business should search for the best progressive web app development company and explore ways of converting their websites into PWAs. If you’re looking for the best way to turn your website into PWA, you’ve come to the right place. Make this beneficial change with minimal investment and see how much it can amplify your success.
Transform your PHP website into a Progressive Web App with these simple steps, as provided by Magenest’s official team of developers. With this easy-to-follow guide, you can turn website into PWA in no time.
What Types of Websites Can Be Turned Into PWA?
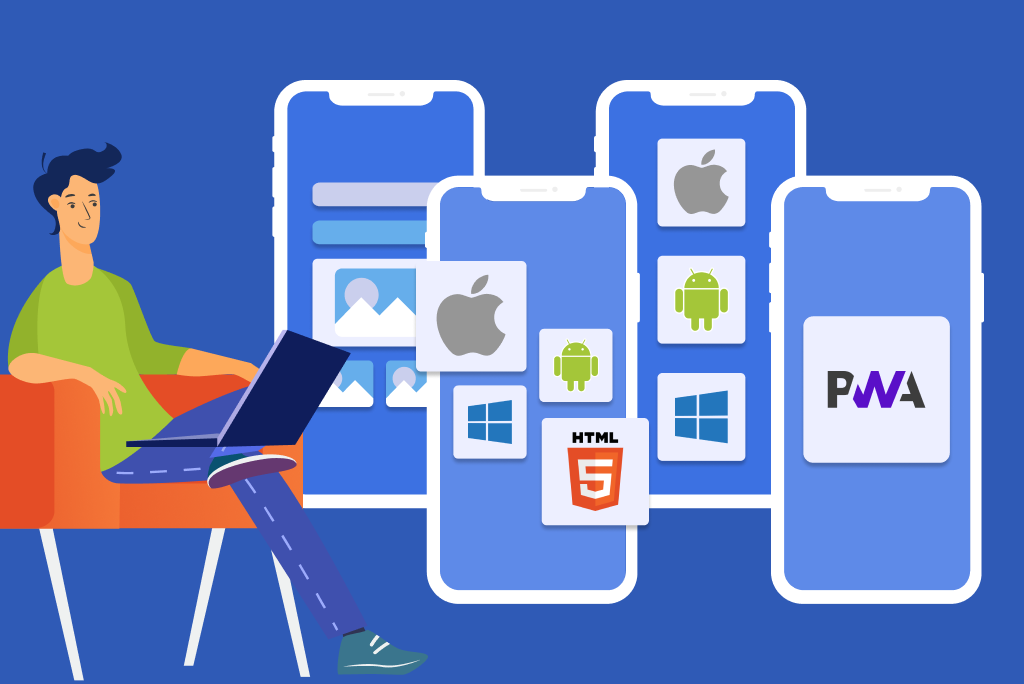
As something progresses, it almost always results in a gradual advancement over time. When talking about web applications and PWAs, progressive means that any given web application can be converted into a PWA with relative ease. This is true regardless of the type or complexity of your app.
We’re sure you’re wondering if converting your existing web app to a PWA will require completely rewriting the code. On the contrary, all that’s necessary is selecting and incorporating specific features such as service workers and application manifest files. Plus, with progressive enhancement, you can add extra functionality like push notifications at any point in time.
If you’re already in the midst of constructing your website and thinking about turning it into a Progressive Web App, then do so right away. Conversely, if you already have an existing web app set up, take things one step at a time, start by incorporating important elements such as service worker caching or the application manifest before later adding additional features like geolocation APIs until fully converted.
How to Turn Website Into PWA
Turning a website into a Progressive Web App (PWA) involves adding a few features and modifying some code to make the website behave like an app on mobile devices. Here are the general steps to turn website into PWA.
Build a Basic Website
Developing your website is relatively easy, all you must do is follow the normal steps. HTML, CSS, and JavaScript are the essential elements that make up a simple site. When constructing it though, there’s some key information to remember:
- When you deploy your website, be sure to provide it through HTTPS, the only exception is when running it in a local environment. Secure connection to PWA through HTTPS will help users feel more protected. Not only that, but the HTTPS secure connection also easily wins the trust of users, thus increasing the number of visits. From there, it helps to create an SEO advantage because PWA can be indexed by search engines and served on TLS.
- Ensure that your website is responsive so that it looks good and functions optimally on both mobile devices and desktop computers. Once you have this setup, you will be ready to go.
Create a Web App Manifest File
The web app manifest is a JSON file that describes your PWA, including its name, icons, and other details. By providing data extract in JSON form, the cached information thanks to the service worker support, along with the combination of the shell application, helps the CSS route loading process to be completed well. Offline distribution with full UI functionality is also guaranteed.
To create the web app manifest, you can use a tool like PWA Builder or create it manually. Once you have the manifest file, add it to your website’s root directory. If you don’t have a structured system for your templates, add these lines to get started:
<head>

<meta name= “viewport” content=”width=device-width, user-scalable=no” />

<link rel= “manifest” href= “manifest.json” />

</head>- Viewport: To guarantee your website is mobile-friendly, utilize the meta tag viewport. This line of code allows for a seamless transition from desktop to any device size by allowing the page to adjust accordingly. Instantly see how stunningly it fits your device when you reload and witness its responsiveness in real-time.
- Manifest: In your code’s second line, you have included a reference to the file which is necessary in order to control how the site will be added on home screens.
Now that you’re done, open a text editor and start writing your JSON code. Pay attention to the short_name section as this will appear on the home screen (aim for 15 characters or less).
Once you have saved your file as manifest.json, it is time to reload the page on an Android device and open up the menu at the top right corner of your screen. Select Add to Home Screen, and before you know it, a custom icon will appear on your home screen. This is a sample code that you can refer to.
{
   "name": "Sample PWA",
   "short_name" : "PWA",
   "start_url": "index.html?utm_source=homescreen",
   "scope" : "./",
   "icons": [
       {
           "src": "./android-chrome-192x192.png",
           "sizes": "192x192",
           "type": "image/png"
       },
       {
           "src": "./android-chrome-512x512.png",
           "sizes": "512x512",
           "type": "image/png"
       }
   ],
   "theme_color": "#ffee00",
   "background_color": "#ffee00",
   "display": "standalone"
}
Add a Service Worker
A service worker is a JavaScript file that runs in the background and intercepts network requests, and it is the core element of modern PWA technology. The Service Worker will be responsible for all file caching, server pushing notifications, content updates, data manipulation, etc., by listening to network requests on the server and placing as .js files on user devices. The Service Worker will then monitor these events and return the appropriate response.
In addition, the displayed content is customized based on the cached cache even when the user is offline. Besides, you can also use cache data as variables and parameters. This means that although the first load takes a few seconds, subsequent times by leveraging service workers should be faster. Therefore, this allows a PWA to work offline and load quickly.
You can add a service worker to your website by writing the code yourself or using a tool like Workbox. You can copy the code below. To use this code, create a new file and name it sw.js before saving your changes.
/** An empty service worker! */

self.addEventListener (‘fetch’, function(event)

{

/** An empty fetch handler! */

});
In order to transform your webpage into an app, you must first register the code in your website’s file. To do this, open up the site.js document and paste the following:
navigator.serviceWorker && navigator.serviceWorker.register(‘./sw.js’).then(function(registration) { console.log(‘Excellent, registered with scope: ‘, registration.scope);});To ensure the code is operational, put it to work on each page load. Test if it’s functioning perfectly by refreshing the page and then double checking – chrome://serviceworker-internals/.
By implementing it on your website, you will have the ability to encourage users to add it directly onto their mobile home screens. Additionally, this feature allows for push notifications and even an offline mode to make sure visitors can always access your content regardless of their internet connection.
Make Your Site Work Offline
To begin, open the sw.js script and obtain access to the cache object. After that’s done, revise your code accordingly before caching all of your website content.
If you’re curious about how it’s working now, uninstall the current app and install it in Chrome. Once that’s taken care of, refresh the page and click on Add to Home Screen from within the right-corner menu. It only takes a few minutes.
To follow the regulation that the page reloads and reinstalls Service Worker on a change, simply add a component indicating its version. When this changes, the installation process will repeat itself automatically to refresh resources that have been altered.
Making your site work offline is an important aspect of creating a Progressive Web App (PWA). By making your site work offline, you can provide a better user experience and increase engagement with your application, especially in areas with poor internet connectivity.
Testing
At this stage of the progressive web app conversion journey, ensure that your service worker is registered and installed on Chrome. Additionally, you can use the Lighthouse Extension in order to thoroughly audit your PWA’s performance.

To start the process, follow these 3 easy steps:
- Press F12 to open Chrome Dev Tools
- Select the Application tab
- Finally, choose Service Workers on the sidebar
To ensure your service worker has been effectively activated and is operating properly, just tick the Offline checkbox followed by a page reload. If you observe that even with no internet connection, your PWA site still presents its content. Once that is completed, you will have access to a detailed report showcasing how well your website performs in relation to web development best practices.
In Conclusion,
Turning a website into a PWA can have numerous benefits for both website owners and users. By adding a web app manifest and service worker, registering the service worker, testing the PWA, and adding PWA features like push notifications and home screen installation, you can create a fast, reliable, and engaging PWA that can work on any device and can be installed like a native app. As more and more users access the internet through mobile devices, PWAs are becoming an essential part of any website’s strategy. By following the steps outlined in this article, you can turn website into PWA and provide your users with a better, more engaging experience.
In case you’re a merchant who has no idea about building and turning a normal website into PWA but still wants to transform your existing website with this advanced technology, Magenest is here to help. You can contact our specialists for more detailed consultancy or directly refer to our comprehensive Magento development services to capture the basic information.