Social login is popular among customers due to a faster registration process (requiring almost no additional information), and you can save the time of remembering all your accounts. However, before creating a social login in Magento 2, you have to connect to the API of other social networks such as Google, Facebook, Yahoo, Instagram, Pinterest, etc. Today, we will show you how to configure LinkedIn API in Magento 2.
When entering LinkedIn, you need to create an external application to connect your website to LinkedIn API. Then, application ID and secret (Client ID and secret or API ID and Secret), or application credentials, are all that we need. With this external application, your website will be linked to API. And these credentials play an important role in making LinkedIn users get access to your website.
To Configure LinkedIn API, let’s follow these steps:
Table of Contents
How To Configure LinkedIn API in Magento 2 in 5 Steps
Step 1: Log in or Sign up for LinkedIn Developer
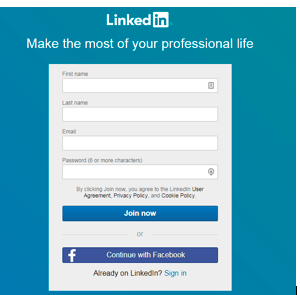
Let’s access www.linkedin.com/secure/developer. If you are already a member, skip this step and follow step number 3; otherwise, you will see a signup table that requires you to fill in your first and last name, email, and password. After setting up, click Join now.
Step 2: You will see a series of information window that requests to fill in
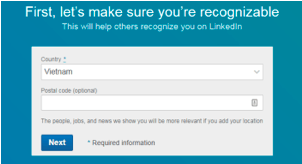
Choose your country and type in your postal code, and then click Next
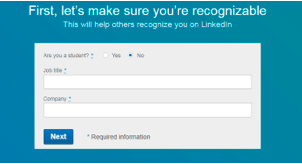
If you are a student, tick Yes option. Otherwise, you need to provide your job title and the name of the company, then click Next
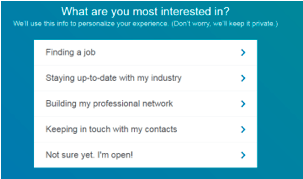
You choose which one is the most suitable statement describing your situation.
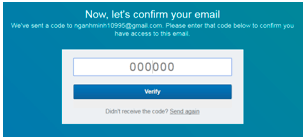
LinkedIn immediately sends you a pin code to your registered email to verify your signup.
After confirming your email and providing some personal information, you are moved to the home screen of LinkedIn developer page.
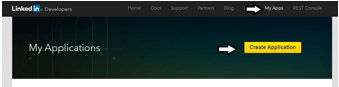
Step 3: Create an app on LinkedIn Developer page
Now you’re on LinkedIn developer page, choose My app in the menu bar and click Create Application.
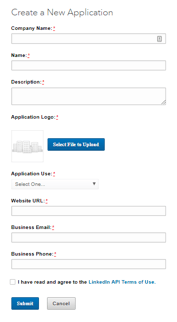
Step 4: Fill in your company info
An information table appears immediately, you need to type in your company name, your name, application description, application logo, application use, your business’s website URL, work email, and phone number. The ones with the red mark are compulsory, so make sure that you don’t leave any of them blank. After that, tick on I have read and agreed to the LinkedIn API terms box of Use, and then you’re ready to go.
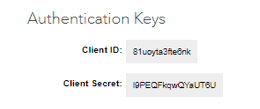
Step 5: Authentication in API
After clicking on the Submit button, you see your application authentication keys including Client ID and Client Secret. And then, copy and paste them into API fields in Magento Admin -> Store -> Configuration-> Magenest -> Social login -> LinkedIn following this link.
We have shown you how to configure LinkedIn API in Magento 2. If you want to ask for support, contact directly to our Magento experts and specialists. If you want to know more about how to configure the API of other social networks in Magento 2, keep following us!