In the world of eCommerce, delivering a seamless and engaging user experience is crucial for success, this is where Progressive Web Apps (PWAs) come into play. PWAs are so powerful that Magento even created Magento 2 PWA Studio, a useful tool to help to build PWAs on top of the Magento framework, empowering developers to create high-performing and customizable storefronts that leverage the capabilities of PWAs.
This guide will take you through the journey of understanding PWAs and the significance of Magento 2 PWA Studio. You’ll learn steps on how to setup Magento 2 PWA studio, from how to set up the development environment, customize and configure PWA Studio, build and deploy your PWA, test, to optimize its performance, and ensure smooth updates and maintenance.
Table of Contents
- Understanding Magento 2 PWA Studio
- Prerequisites for Setting up PWA Studio with Magento 2
- Step 0: Check Adobe Requirements
- Step 1: Setting up the Development Environment
- Step 2: Customizing and Configuring PWA Studio
- Step 3: Building and Deploying the PWA
- Step 4: Testing and Optimizing the PWA
- Step 5: Updating and Maintaining the PWA
Understanding Magento 2 PWA Studio
What Is a PWA?
A Progressive Web App (PWA) is a web application that functions like a native mobile app while being accessible through a web browser. PWAs offer features like offline capabilities, push notifications, and a responsive design for various devices. They provide a seamless user experience, are cross-platform compatible, and can be distributed through app stores. PWAs combine the best of web and mobile app technologies to deliver fast, engaging, and accessible experiences to users.
What Do We Need to Know about Magento 2 PWA Studio?
The Magento PWA Studio project is specifically tailored for building Progressive Web Applications (PWAs) on top of the Magento eCommerce platform. It provides a comprehensive set of developer tools, libraries, and a build system to create and maintain a PWA storefront using Magento 2.3 and above.
Magento PWA Studio leverages modern web technologies and design patterns to deliver a fast, reliable, and engaging user experience. It enables developers to build PWAs that are responsive, secure, and compatible across different browsers and devices. Additionally, Magento PWA Studio ensures that the resulting PWA storefront is extensible, allowing for customizations and integrations with other Magento features and extensions.
By using Magento PWA Studio, developers can leverage the capabilities of PWAs to create high-performing and user-friendly storefronts for Magento-based eCommerce websites.
Prerequisites for Setting up PWA Studio with Magento 2
Before learning about how to setup Magento 2 PWA studio, you need to set up a few things to get ready. Here are the key requirements that need to be met for a successful PWA Studio with Magento 2 installation:
- Suitable Magento version: PWA Studio is designed to work with Magento 2.3 and later versions. Make sure you have a compatible Magento installation.
- Node.js and Yarn: Node.js is required to run the build tools, and Yarn is a package manager used by PWA Studio. Install Node.js (preferably LTS version) and Yarn on your development environment.
- SSL/TLS Certificate: PWA Studio requires a valid SSL/TLS certificate for secure HTTPS connections. Ensure that you have a certificate installed and configured for your Magento 2 installation.
- Peregrine and Venia theme dependencies: PWA Studio relies on two important packages, Peregrine and Venia theme. Make sure you have these dependencies installed and configured correctly.
- GraphQL support: Ensure that your Magento 2 installation has GraphQL support enabled. PWA Studio utilizes GraphQL for data retrieval and management.
- Docker (optional): Although not mandatory, Docker can simplify the setup process by providing pre-configured environments. It is recommended for local development and testing.
- Familiarity with React and JavaScript: PWA Studio is built using React, a popular JavaScript library for building user interfaces. Familiarity with React and JavaScript development is beneficial for working with PWA Studio.
- Development environment setup: Set up your development environment with the necessary tools, including code editors, IDEs, and Git for version control.
By meeting these prerequisites, you can begin the process of setting up PWA Studio with Magento 2 and start building your Progressive Web Application storefront. It’s important to consult the official PWA Studio documentation for detailed instructions and guidelines specific to your Magento version and development environment. Knowing what part you need to get ready firsthand will help you do better on the journey of Magento 2 PWA studio setup.
Step 0: Check Adobe Requirements
Before you start developing with PWA Studio, you need to make sure you meet the minimum requirements. Here are the prerequisites you need before installing pwa studio Magento 2:
- A basic knowledge of React: PWA Studio is built using React, so having a basic understanding of React will be beneficial for development.
- Node.js: You need to have Node.js installed on your system, and it should be version 14 or higher (preferably a Long Term Support version). PWA Studio supports NodeJS Long Term Support (LTS) versions, currently version 16 and version 18. If you don’t, not to be worried, we will give you detailed instructions at the next step.
- Yarn (recommended) or npm: You should have either Yarn or npm package manager installed. While Yarn is recommended, NPM can also be used. To check if you have the required versions of Node and Yarn installed, follow these steps:
- Open your terminal or command prompt.
- Use the following command to check
- To check the version of Node.js installed, run the command: node -v
- To check the version of Yarn installed, run the command: yarn -v
If the above commands do not display a version number, it means that you do not have the required version of Node.js and/or Yarn installed.
Step 1: Setting up the Development Environment
You can skip this step if you have met all the requirements in the previous step to install Magento PWA studio.
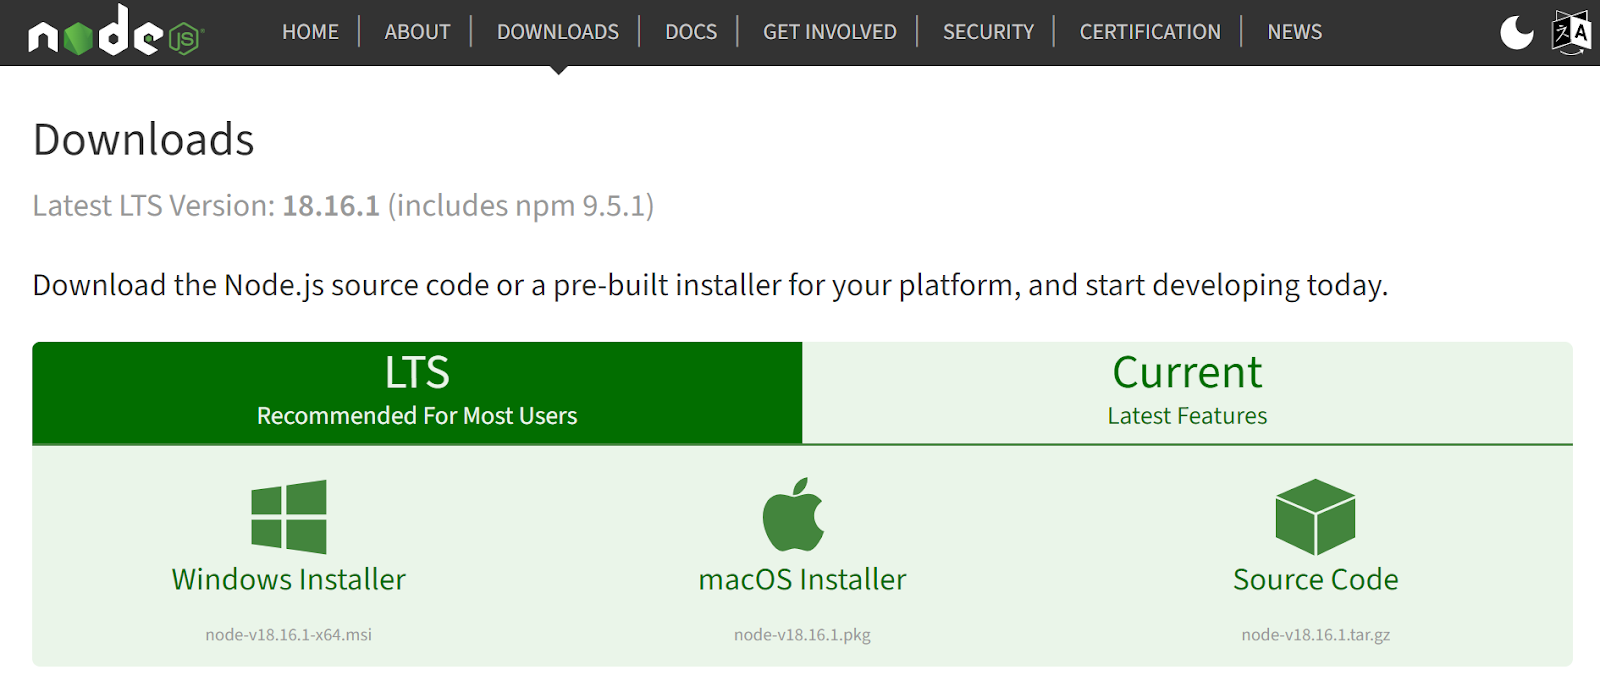
Installing Node.js
Visit the official Node.js website (https://nodejs.org) and download the LTS (Long-Term Support) version suitable for your operating system. LTS version 16 or 18 is the recommended version because it is supported by PWA Studio.
Run the installer and follow the installation instructions.
After installation, open a terminal or command prompt and verify that Node.js and npm (Node Package Manager) are installed correctly by running the following commands:
node -vConfiguring Git and Cloning the PWA Studio Repository
Install Git if it’s not already installed on your system. You can download it from the official Git website (https://git-scm.com) to continue the process of the Magento 2 PWA studio install.

Open a terminal or command prompt and configure your Git user details by running the following commands:
git config --global user.name "Your Name"
git config --global user.email "your.email@example.com"
Clone the PWA Studio repository from the official GitHub repository by running the following command in the desired directory:
bash
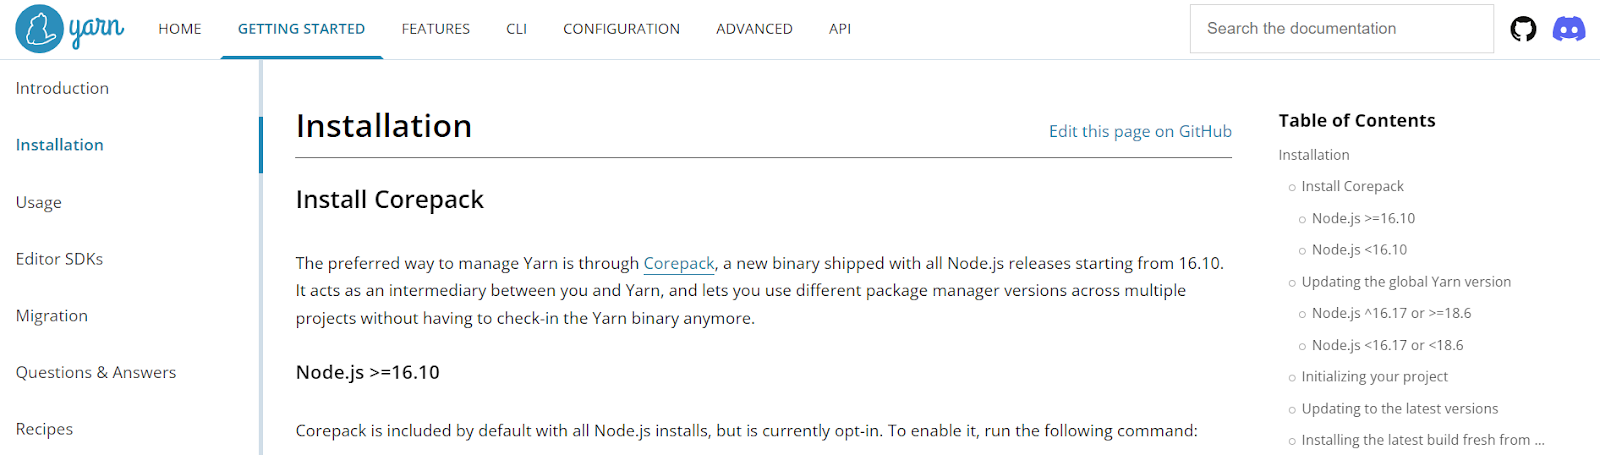
git clone https://github.com/magento/pwa-studio.gitInstalling Yarn
Visit the official Yarn website (https://yarnpkg.com) and download the latest stable version suitable for your operating system.
Run the installer and follow the installation instructions.
In the terminal or command prompt, navigate to the directory where you cloned the PWA Studio repository (pwa-studio) using the Cd command.
Run the following command to install the project dependencies:
yarn installAfter that, using yarn -v to check
Setting up Magento 2 Instance
Ensure you have a Magento 2.3 or later instance set up and running before continuing to follow this how to setup Magento 2 PWA studio tutorial. Refer to the official Magento documentation for instructions on installing and configuring Magento. Once your Magento 2 instance is ready, create a new storefront configuration by running the following command in the PWA-studio directory:
sql
yarn create-project @magento/venia-concept
Follow the on-screen prompts to provide the necessary details for connecting to your Magento instance, such as the Magento base URL and authentication keys.
After the setup is complete, you can start the development server by running the following command:
arduino
yarn run watch:venia
Access the PWA storefront by opening a web browser and navigating to the URL shown in the terminal.
These steps should help you set up the development environment for Magento PWA Studio. Remember to consult the official PWA Studio documentation for any specific instructions or troubleshooting related to your environment or Magento version.
Step 2: Customizing and Configuring PWA Studio
Understanding the Project Structure
The PWA Studio project structure consists of various directories and files. Some key directories include can help you with customizing and configuring when installing PWA studio Magento 2:
- src: Contains the source code for the PWA storefront, including components, templates, styles, and other assets.
- dist: Holds the compiled and optimized files generated during the build process.
- packages: Contains individual packages within PWA Studio, such as venia-ui, upward-spec, etc.
- upward.yml: Defines the Upward server configuration for routing and data mapping.
Familiarize yourself with the project structure to understand where to make changes for customization.
Configuring the Storefront API and Backend URL
Update the .env file in the project root to specify the backend API URL for your Magento instance. Set the MAGENTO_BACKEND_URL variable to the appropriate value, including the base URL of your Magento 2 instance. This is important in the process of learning how to setup Magento 2 PWA studio.
Modifying PWA Studio’s Theme and Styling
To customize the theme and styling of the PWA storefront, navigate to the src directory and explore the different subdirectories:
- components: Modify or create new React components to change the UI and functionality.
- routes: Configure and define routes for different pages of the storefront.
- styles: Update CSS or SCSS files to customize the styling.
- templates: Modify or create new templates for various sections and pages of the storefront.
Make changes to these files to achieve the desired theme and styling modifications.
Configuring manifest.json and Service Worker
The manifest.json file in the src directory contains metadata and configuration settings for the PWA, such as app name, icons, and theme color. Update this file to customize the PWA’s appearance and behavior.
The service worker responsible for offline capabilities is automatically generated during the build process. You can modify the service worker behavior by updating the src/sw.js file. However, exercise caution as incorrect modifications can impact the PWA’s functionality.
Adding Extensions and Customizing Functionality
PWA Studio supports extensions and customizations through modules and plugins. You can create custom modules or leverage existing extensions to add functionality to the PWA storefront. Refer to the official PWA Studio documentation for guidelines on creating and integrating extensions. Remember to follow best practices, version control your changes, and thoroughly test any modifications to ensure they work as intended.
Step 3: Building and Deploying the PWA
Running the Development Server
To start the development server and preview your changes, navigate to the root directory of your PWA Studio project in the terminal or command prompt. Then run the following command:
yarn run watch:veniaThis command starts the development server and compiles the PWA storefront. You can access the PWA in your browser by navigating to the URL shown in the terminal.
Creating a Production Build
When you are ready to deploy the PWA to a production environment, you need to create a production build. In the terminal or command prompt, navigate to the root directory of your PWA Studio project and run the following command:
yarn run build:veniaThis command triggers the build process and generates optimized and minified files in the `dist` directory.
Deploying the PWA to a Server or Hosting Platform
You may ask how to implement PWA in Magento 2.
To deploy the PWA to a server or hosting platform, follow the standard procedures for deploying a web application. The steps may vary depending on your hosting environment. Typically, you will need to:
- Copy the contents of the `dist` directory (generated in the previous step) to your server or hosting platform.
- Configure your web server or hosting platform to serve the PWA’s files from the appropriate directory.
- Ensure that your server supports HTTPS and configure the necessary SSL/TLS certificate for secure connections.
That’s how to implement PWA in Magento 2, after finishing all the steps, please check carefully before finishing the Magento pwa studio install process
Configuring Caching and CDN for Optimal Performance
To optimize the performance of your PWA, consider implementing caching strategies and leveraging a Content Delivery Network (CDN). Here are some steps to follow:
- Configure caching headers in your web server to instruct clients and intermediate proxies on how to cache static assets and API responses.
- Utilize a CDN to distribute your PWA’s assets globally, reducing latency and improving load times for users in different geographic locations.
- Implement service worker caching strategies to cache frequently accessed assets for offline use and faster subsequent visits.
And that’s how to setup Magento 2 PWA studio, but for it to work properly, you will need to test, optimize, update, and maintain it.
Step 4: Testing and Optimizing the PWA
Performing Cross-browser and Cross-device Testing
Test your PWA on different web browsers, including popular ones like Chrome, Firefox, Safari, and Edge, to ensure compatibility and consistent behavior.
Perform testing on various devices, such as desktops, laptops, tablets, and mobile phones, to ensure the PWA is responsive and functions correctly on different screen sizes and resolutions.
Pay attention to specific features that may behave differently across browsers, such as push notifications, offline capabilities, and performance optimizations.
Optimizing Performance and Speed
Analyze and optimize the loading speed of your PWA by reducing file sizes, leveraging caching, and using efficient code and asset delivery techniques.
Compress and optimize images to reduce their size without compromising quality.
Minify and bundle JavaScript and CSS files to reduce the number of network requests.
Employ lazy loading techniques to defer the loading of non-critical resources until they are needed.
Implement code splitting to load only the necessary code for each page or component.
Continuously monitor and optimize the performance of your PWA by using tools like Lighthouse, WebPageTest, and Google PageSpeed Insights.
Implementing SEO Best Practices for PWAs
Ensure your PWA is discoverable by search engines by providing appropriate metadata, including title tags, meta descriptions, and structured data.
Implement server-side rendering (SSR) or dynamic rendering to enable search engine crawlers to index the content of your PWA effectively.
Optimize URLs and implement clean, descriptive, and user-friendly URLs for each page of your PWA.
Implement schema markup to provide search engines with structured information about your PWA’s content and improve its visibility in search results.
Monitoring and Analyzing PWA Performance Metrics
Utilize monitoring tools and services to track and analyze key performance metrics of your PWA, such as load time, time to interact, first paint, and conversion rates.
Set up analytics tools, such as Google Analytics or similar services, to monitor user behavior, track conversions, and gain insights into user engagement.
Use performance monitoring tools to detect and diagnose issues, such as slow network requests, excessive JavaScript execution, and inefficient resource loading.
Regularly review and analyze the collected data to identify areas for improvement and make data-driven optimizations to enhance the user experience and conversion rates.
Step 5: Updating and Maintaining the PWA
By regularly updating and maintaining your PWA, applying necessary patches and security updates, and actively monitoring compatibility and troubleshooting issues, you can ensure the long-term stability, security, and optimal performance of your PWA.
Keeping PWA Studio and Dependencies Up to Date
Regularly update PWA Studio and its dependencies to ensure you have the latest features, bug fixes, and improvements. Keep an eye on the official PWA Studio documentation and GitHub repository for updates and release notes. To update PWA Studio and its dependencies, navigate to the root directory of your project in the terminal or command prompt and run the following command:
yarn upgradeThis command updates the packages to their latest versions based on the version ranges specified in the `package.json` file.
Applying Patches and Security Updates
Stay informed about patches and security updates released for both Magento 2 and PWA Studio. Regularly check the Magento Security Center for any security-related announcements or patches. Apply updates and patches promptly to keep your PWA secure and up to date.
Monitoring Magento 2 and PWA Compatibility
As both Magento 2 and PWA Studio evolve, it’s essential to monitor their compatibility. Stay updated with the latest Magento releases and PWA Studio documentation to ensure compatibility between versions. Test your PWA thoroughly after upgrading either Magento 2 or PWA Studio to identify and resolve any compatibility issues.
Troubleshooting Common Issues and Errors
Troubleshooting is an essential part of maintaining a PWA. When encountering issues or errors, refer to the official PWA Studio documentation, forums, or community resources for troubleshooting steps and solutions. Common troubleshooting steps may include:
- Reviewing error logs and console output for specific error messages.
- Checking for any recent code changes that might have introduced issues.
- Verifying configuration settings and ensuring they are accurate.
- Clearing caches and rebuilding assets.
- Seeking assistance from the PWA Studio community or Magento support resources for guidance.
Remember to have a reliable backup system in place to ensure you can roll back changes if necessary and perform thorough testing before deploying any updates or changes to a production environment.
Staying proactive with updates, security patches, compatibility monitoring, and effective troubleshooting practices will help you maintain a stable and secure PWA.
Conclusion
You now have a comprehensive Magento PWA studio tutorial and how it enables you to build powerful and user-centric Progressive Web Apps for your Magento-based eCommerce store. By following the steps outlined in this guide, you can confidently set up the development environment, customize and configure your PWA, deploy it to production, and optimize its performance. If you have any questions about how to setup Magento 2 PWA studio, feel free to contact our team of Magento experts here at Magenest.