In this blog, I’d like to share with you the step-by-step procedure of how to install Magento 2 running on Zend Server on Ubuntu.
Table of Contents
Step 1: Install Zend Server
First of all, you can go to the following website to download Zend Server package: HERE
The package usually will be saved in Downloads
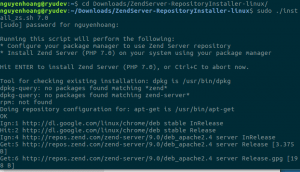
Then open your terminal to run these commands:
sudo tar -xzvf Downloads/ZendServer-9.0.1-RepositoryInstaller-linux.tar.gz
(Note: “Downloads/ZendServer-9.0.1-RepositoryInstaller-linux.tar.gz” is the path of the package you’ve just downloaded)
cd Downloads/ZendServer-RepositoryInstaller-linux
sudo ./install_zs.sh <PHP Version>
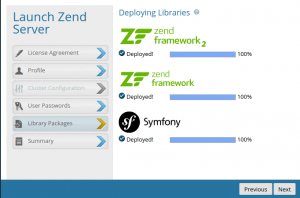
When finishing running those commands, you’ll be redirected to Zend Server URL: https://localhost:10081/ZendServer/
Note: You can restart Zend Server by the following command:
sudo service apache2 restart
Step 2: Install MySQL Server
First, update the package index on your server.
sudo apt-get update
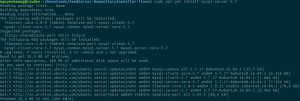
After that, you install MySQL server package version 5.7:
sudo apt-get install mysql-server-5.7
In this step, you have to create a root password during the installation. Make sure you remember it, because you’ll need it later.
Step 3: Install phpMyAdmin
You also must update our local package index first and then install phpMyAdmin on your system:
sudo apt-get update
sudo apt-get install phpmyadmin
After running the second command, you will be asked a few questions in order to configure your installation correctly.
- For the server selection, choose apache2.
- Select yes when asked whether to use
dbconfig-commonto set up the database. - You will be prompted for your database administrator’s password.
- You will then be asked to choose and confirm a password for the
phpMyAdminapplication itself.
Restart your server to finish this installation:
sudo service apache2 restart
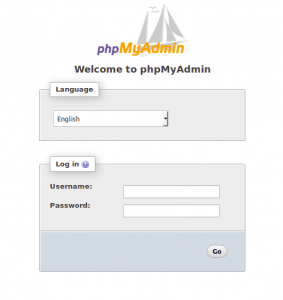
Go to //localhost/phpmyadmin to check the result.
Step 4: Install Composer
We have to use a composer to install Magento. So type these commands on your terminal to install Composer:
export PATH=$PATH:/usr/local/zend/bin
php -r "readfile('//getcomposer.org/installer');" | php
sudo mv composer.phar /usr/local/bin/composer
Step 5: Install Magento 2
Follow this link to download the Magento 2 package: github.com/magento/magento2
Then extract the downloaded package to the following path var/www/html/
Open your terminal and run these scripts:
cd /var/www/html/magento
sudo chmod -R 777 .
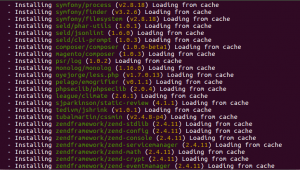
composer install
Now let’s start the Magento 2 installation:
First, follow this URL to enter the Magento installer
//localhost/<name of the extracted Magento file in html>/setup
You’ll get this page, then click Agree and Set Up Magento.
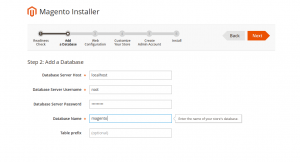
 Next, you must fill in all the information in the 6-step Setup Wizard Installation
Note: In step 2: Add a Database
- Database Name is the name of the database you’ve just created in phpMyAdmin.
- Database Server Username and Password is the username and password of your phpMyAdmin.
When you finish the Setup Wizard, you will get this screen.
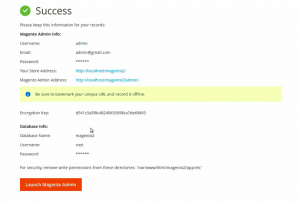 Follow the URL in Your Store Address to go to your Magento Frontend and Magento Admin Address to go to your Magento Backend.
Make sure to run these scripts on your Magento root terminal before visiting your Magento site.
sudo chmod -R 777 .
bin/magento indexer:reindex
Well done, you just create a Magento 2 project running on Zend Server. Hope you find this blog helpful and have fun learning Magento. If you have any problems installing Magento 2 running on Zend Server on Ubunto, feel free to contact us! We have many Magento-certified developers and experts, who are always ready to assist and consult you with the best solutions.


