Knockout JS (KO) is a Javascript library that is used on the front end in Magento 2. It implements Model-View-View Model (MVVM) design pattern. You can find Knockout JS Magento 2 on almost every page. Today we will create a simple Front-end page in Magento 2 using Knockout JS.
The main usage of Knockout JS is to help you to create rich, responsive display and editor user interfaces with a clean underlying data model. Any time you have sections of UI that update dynamically (e.g., changing depending on the user’s actions or when an external data source changes), KO can help you implement it more simply and maintainable. After reading our post, you will have a frontend page using Knockout JS Magento 2 that displays a list of products.
Table of Contents
Preparation before Using Knockout JS on a Magento 2 Frontend Page
First off, we will create a module: Magenest_KnockoutJs and its mandatory files (e.g: registration.php, module.xml,…). If you didn’t know how to create a module, you can check out our topic about this.
Now, create the file routes.xml in Magenest/KnockoutJs/etc/frontend/routes.xml
<?xml version="1.0"?>
<config xmlns:xsi="//www.w3.org/2001/XMLSchema-instance" xsi:noNamespaceSchemaLocation="urn:magento:framework:App/etc/routes.xsd">
   <router id="standard">
       <route id="knockout" frontName="knockout">
           <module name="Magenest_KnockoutJs" />
       </route>
   </router>
</config>
Our module will have a base URL like this: <magento2_base_url>/knockout/ or in our case at here: https://localhost/magento2.1/knockout
We want to create the page: https://localhost/magento2.1/knockout/test/index
How to use Knockout JS on a Magento 2 Frontend Page [Step by Step]
To create a new page we need the consistency of these files:
Step 1
First, We have to create the layout file: Magenest/KnockoutJs/view/frontend/layout/knockout_test_index.xml
<?xml version="1.0"?>
<page xmlns:xsi="//www.w3.org/2001/XMLSchema-instance" layout="1column"
     xsi:noNamespaceSchemaLocation="urn:magento:framework:View/Layout/etc/page_configuration.xsd">
   <head>
       <title>Knockout Js Testing Page</title>
   </head>
   <body>
       <referenceBlock name="content">
           <block class="Magenest\KnockoutJs\Block\Test" name="knockoutjs_test_block" template="test.phtml">
               <arguments>
                   <argument name="jsLayout" xsi:type="array">
                       <item name="components" xsi:type="array">
                           <item name="test" xsi:type="array">
                               <item name="component" xsi:type="string">Magenest_KnockoutJs/js/view/test</item>
                               <item name="displayArea" xsi:type="string">test</item>
                           </item>
                       </item>
                   </argument>
               </arguments>
           </block>
       </referenceBlock>
   </body>
</page>
-
- Magenest_KnockoutJs/js/view/test is where knockout js code is contained in.
- The “test” in <item name=”displayArea”…> test</item> is gonna be used later.
Step 2
Now it’s time for the block that we declare in our layout: Magenest/KnockoutJs/Block/Test.php
<?php
namespace Magenest\KnockoutJs\Block;

use Magento\Framework\View\Element\Template;

class Test extends Template
{
   /**
    * @var array|\Magento\Checkout\Block\Checkout\LayoutProcessorInterface[]
    */
   protected $layoutProcessors;

   public function __construct(
       Template\Context $context,
       array $layoutProcessors = [],
       array $data = []
   ) {
       parent::__construct($context, $data);
       $this->jsLayout = isset($data['jsLayout']) && is_array($data['jsLayout']) ? $data['jsLayout'] : [];
       $this->layoutProcessors = $layoutProcessors;
   }

   public function getJsLayout()
   {
       foreach ($this->layoutProcessors as $processor) {
           $this->jsLayout = $processor->process($this->jsLayout);
       }
       return \Zend_Json::encode($this->jsLayout);
   }

}
-
- The Block file must have getJsLayout function like this.
Step 3
Next is a simple controller to handle the rendering: Magenest/KnockoutJs/Controller/Test/Index.php
<?php
namespace Magenest\KnockoutJs\Controller\Test;

class Index extends \Magento\Framework\App\Action\Action
{

   protected $resultPageFactory;

   public function __construct(
       \Magento\Framework\App\Action\Context $context,
       \Magento\Framework\View\Result\PageFactory $resultPageFactory
   )
   {
       $this->resultPageFactory = $resultPageFactory;
       parent::__construct($context);
   }

   public function execute()
   {
       $resultPage = $this->resultPageFactory->create();
       return $resultPage;

   }
}
-
- A simple controller to render the page, not too much to concern.
Step 4
Remember the block file that we just created above? Let’s make a template for it: Magenest/KnockoutJs/view/frontend/templates/test.phtml
-
- This is where the content of the page we want to create is contained.
- It will look like this.
<div id="test-div" data-bind="scope:'test'">
   <!-- ko template: getTemplate() --><!-- /ko -->
   <script type="text/x-magento-init">
       {
           "#test-div": {
               "Magento_Ui/js/core/app": <?php /* @escapeNotVerified */ echo $block->getJsLayout();?>
           }
       }
   </script>

   <script>
       require([
           'mage/url',
           'Magento_Ui/js/block-loader'
       ], function(url, blockLoader) {
           blockLoader("<?php /* @escapeNotVerified */ echo $block->getViewFileUrl('images/loader-1.gif'); ?>");
           return url.setBaseUrl('<?php /* @escapeNotVerified */ echo $block->getBaseUrl();?>');
       })
   </script>
</div>
-
- The “<!– ko template: getTemplate() –><!– /ko –>” is to call the knockout template that we will declare later.
- The scope:’test’ was declared in our layout file earlier
<item name=”displayArea” xsi:type=”string”>test</item>
Step 5
This is where the fun part happens: The knockout Js that we have been talking about will be defined here. It would look like this: Magenest/KnockoutJs/view/frontend/web/js/view/test.js
define([
   'ko',
   'uiComponent',
   'mage/url',
   'mage/storage',
], function (ko, Component, urlBuilder,storage) {
   'use strict';
   var id=1;

   return Component.extend({

       defaults: {
           template: 'Magenest_KnockoutJs/test',
       },

       productList: ko.observableArray([]),

       getProduct: function () {
           var self = this;
           var serviceUrl = urlBuilder.build('knockout/test/product?id='+id);
           id ++;
           return storage.post(
               serviceUrl,
               ''
           ).done(
               function (response) {
                   self.productList.push(JSON.parse(response));
               }
           ).fail(
               function (response) {
                   alert(response);
               }
           );
       },

   });
});
-
- The template declared in this file is the one we’re gonna create right after this step
- The productList is declared as a knockout Observable Array, this is where the product details are contained and used.
- The getProduct function is a simple ajax request to a controller (we will create this in the last file). Basically, this function will send a request to the controller to retrieve a product and add it to the productList variable.
Step 6
We are almost there! Below is a simple template file for the Knockout Js: Magenest/KnockoutJs/view/frontend/web/template/test.html
<button data-bind=" click: getProduct">Get Next Product</button>
<table>
   <thead>
   <tr>
       <th>ID</th>
       <th>Product Name</th>
       <th>Product Price</th>
       <th>Preview</th>
   </tr>
   </thead>
   <tbody data-bind="foreach: productList">
   <tr>
       <td data-bind="text: entity_id"></td>
       <td data-bind="text: name"></td>
       <td data-bind="text: price"></td>
       <td><img data-bind="attr: {src: src}" width="120" height="150" alt="Product Image"></td>
   </tr>
   </tbody>
</table>
-
- We will have a button “Get Next Product” to get a product’s details. Every time we click this button a new product is added to the table without reloading the page.
- For the table body use data-bind to get data. The data keys (entity_id, name, price,…) are set in each productList object which is set in the ajax controller.
Step 7
Finally, we need a Controller for the upcoming ajax request: Magenest\KnockoutJs\Controller\Test\Product.php
<?php
namespace Magenest\KnockoutJs\Controller\Test;

use Magento\Catalog\Model\ProductFactory;
use Magento\Catalog\Helper\Image;
use Magento\Store\Model\StoreManager;

class Product extends \Magento\Framework\App\Action\Action
{
   protected $productFactory;
   protected $imageHelper;
   protected $listProduct;
   protected $_storeManager;

   public function __construct(
       \Magento\Framework\App\Action\Context $context,
       \Magento\Framework\Data\Form\FormKey $formKey,
       ProductFactory $productFactory,
       StoreManager $storeManager,
       Image $imageHelper
   )
   {
       $this->productFactory = $productFactory;
       $this->imageHelper = $imageHelper;
       $this->_storeManager = $storeManager;
       parent::__construct($context);
   }

   public function getCollection()
   {
       return $this->productFactory->create()
           ->getCollection()
           ->addAttributeToSelect('*')
           ->setPageSize(5)
           ->setCurPage(1);
   }

   public function execute()
   {
       if ($id = $this->getRequest()->getParam('id')) {
           $product = $this->productFactory->create()->load($id);

           $productData = [
               'entity_id' => $product->getId(),
               'name' => $product->getName(),
               'price' => '
- Ok, that’s enough coding for today. Let’s go check out our results. (Remember to flush the cache in Magento and Refresh the cache in your browser to secure our success).
-
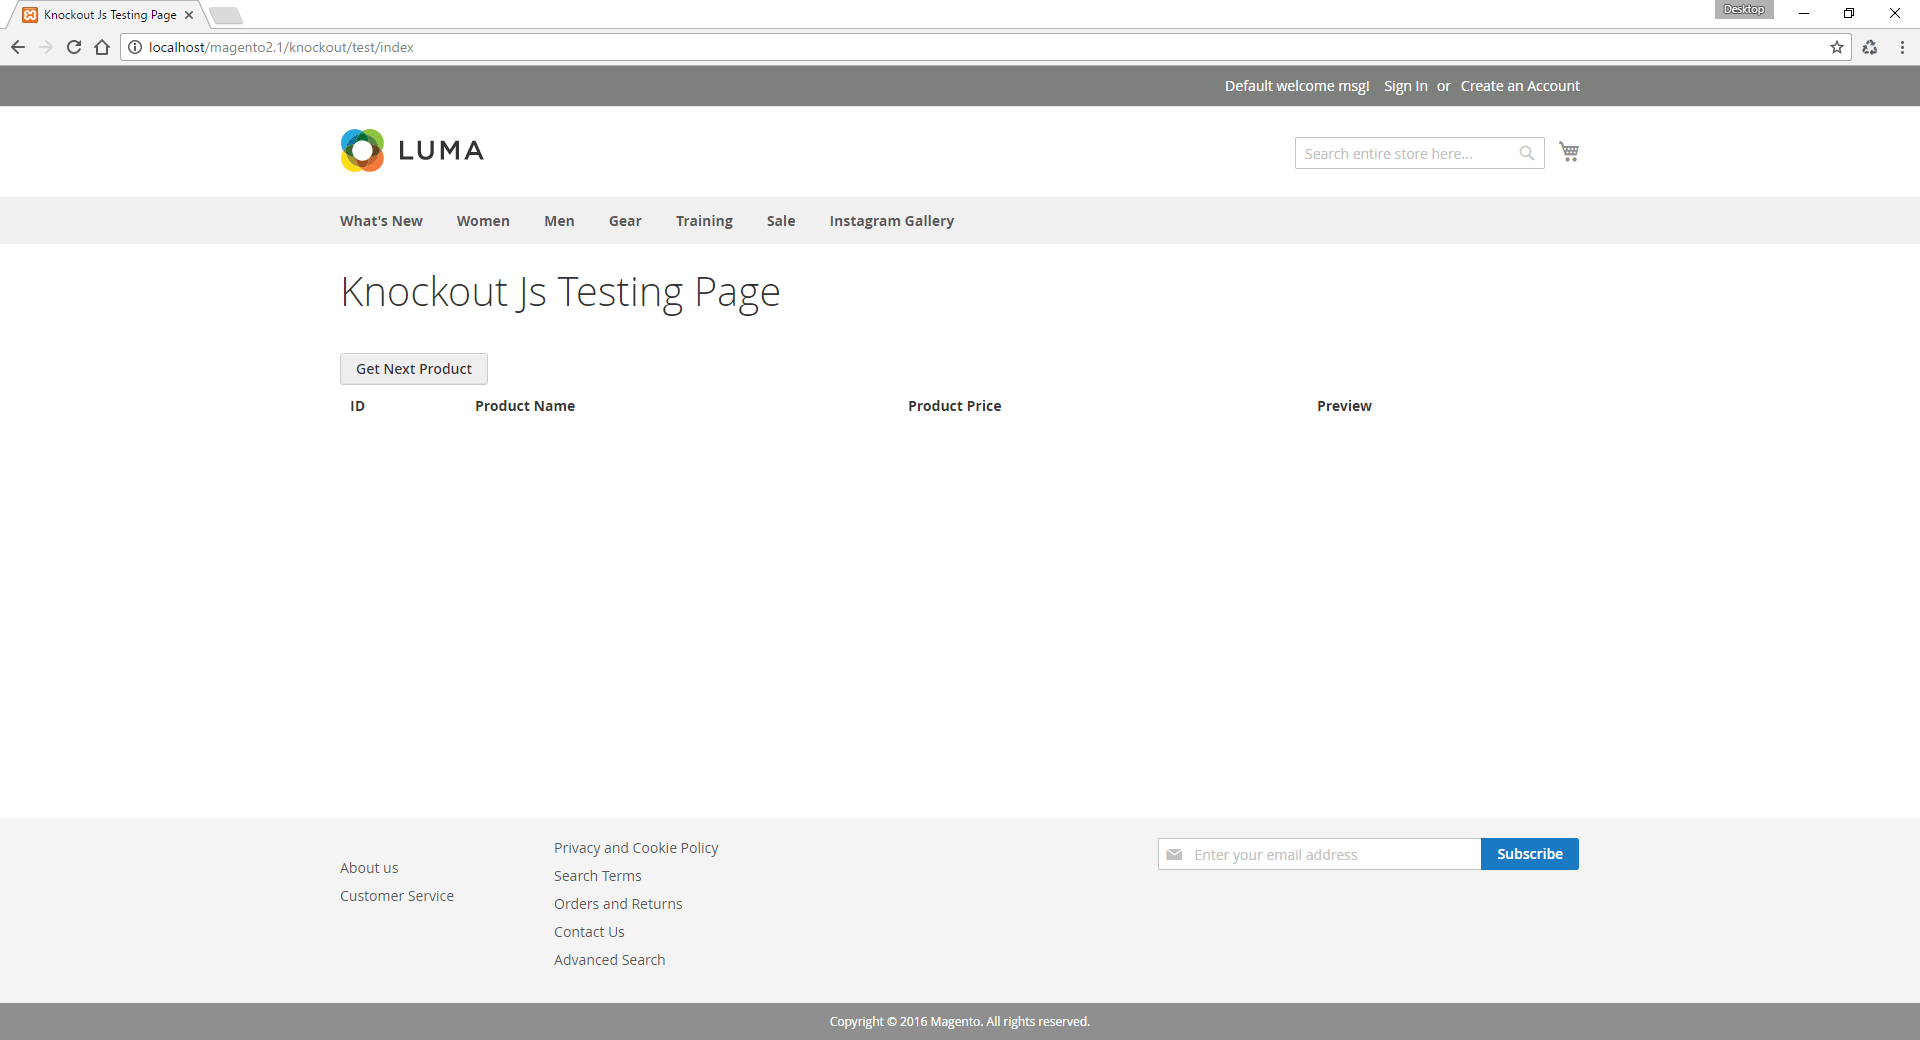
Our Knockout JS page is in the frontend. 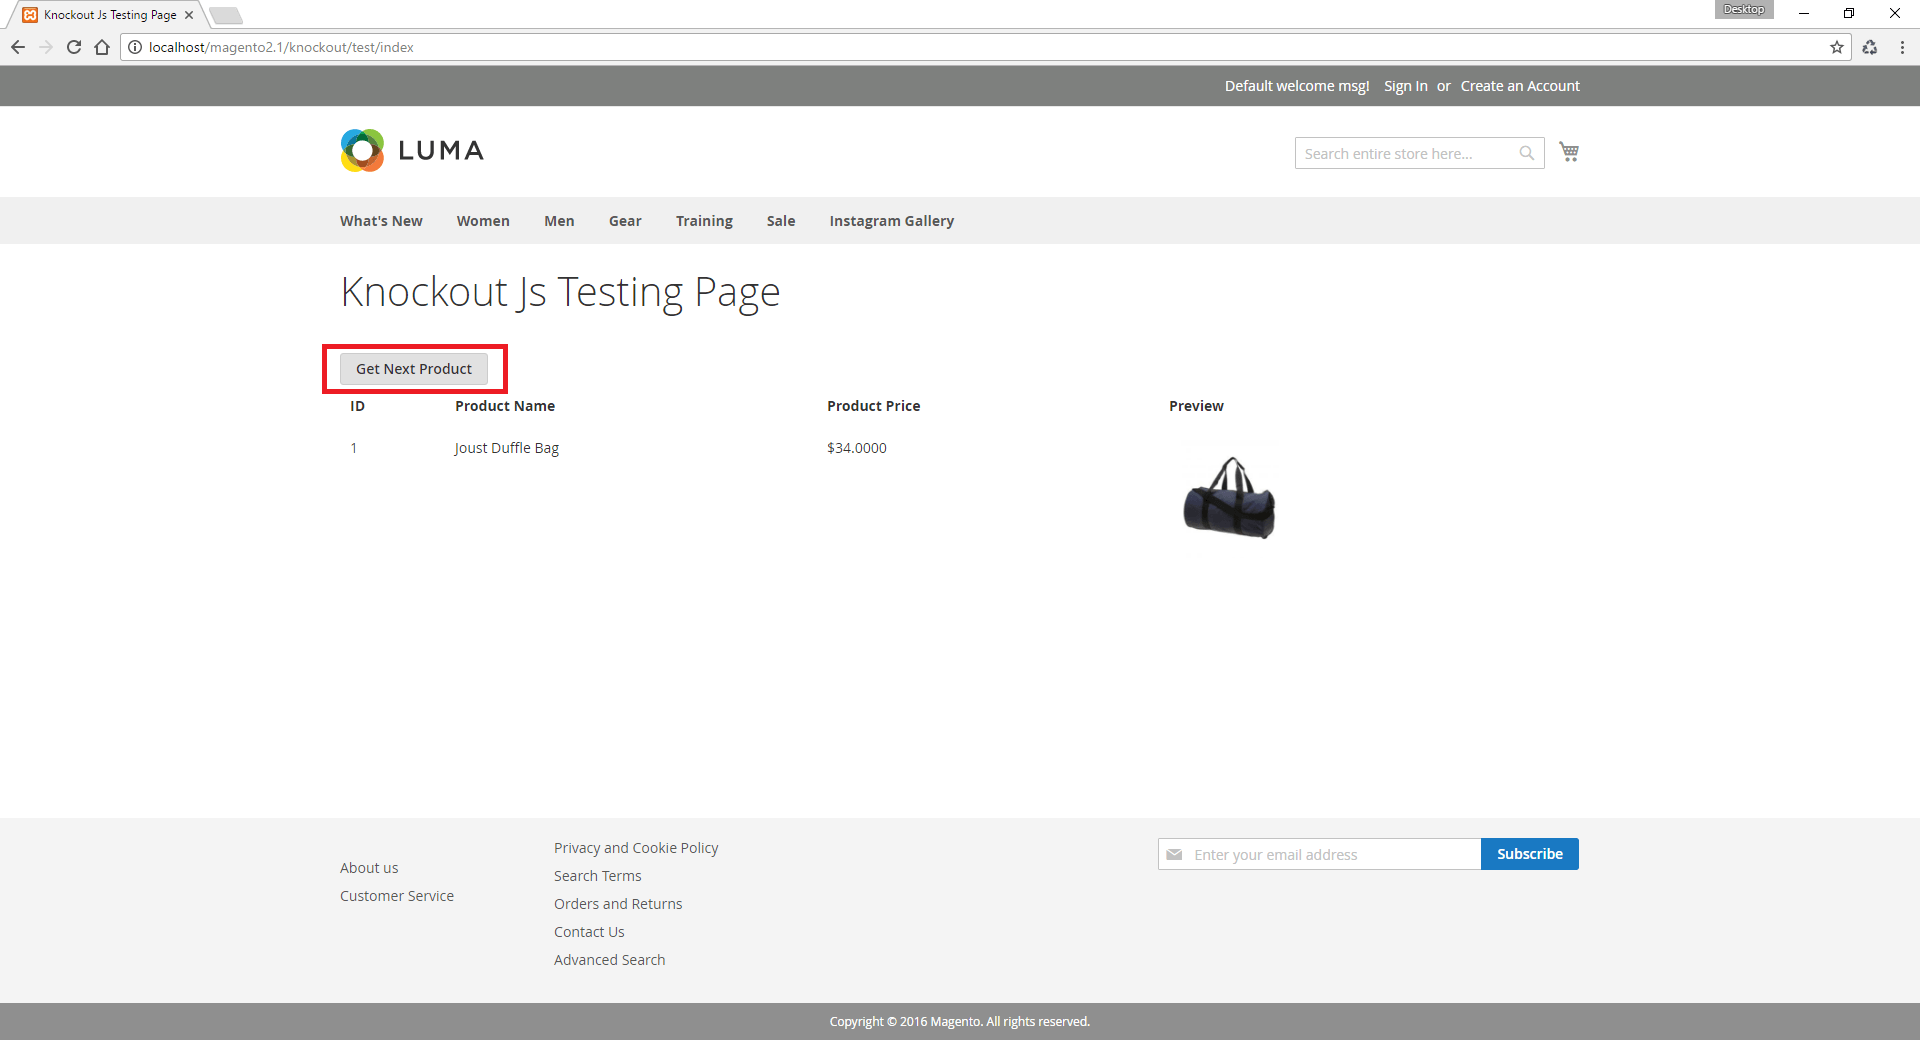
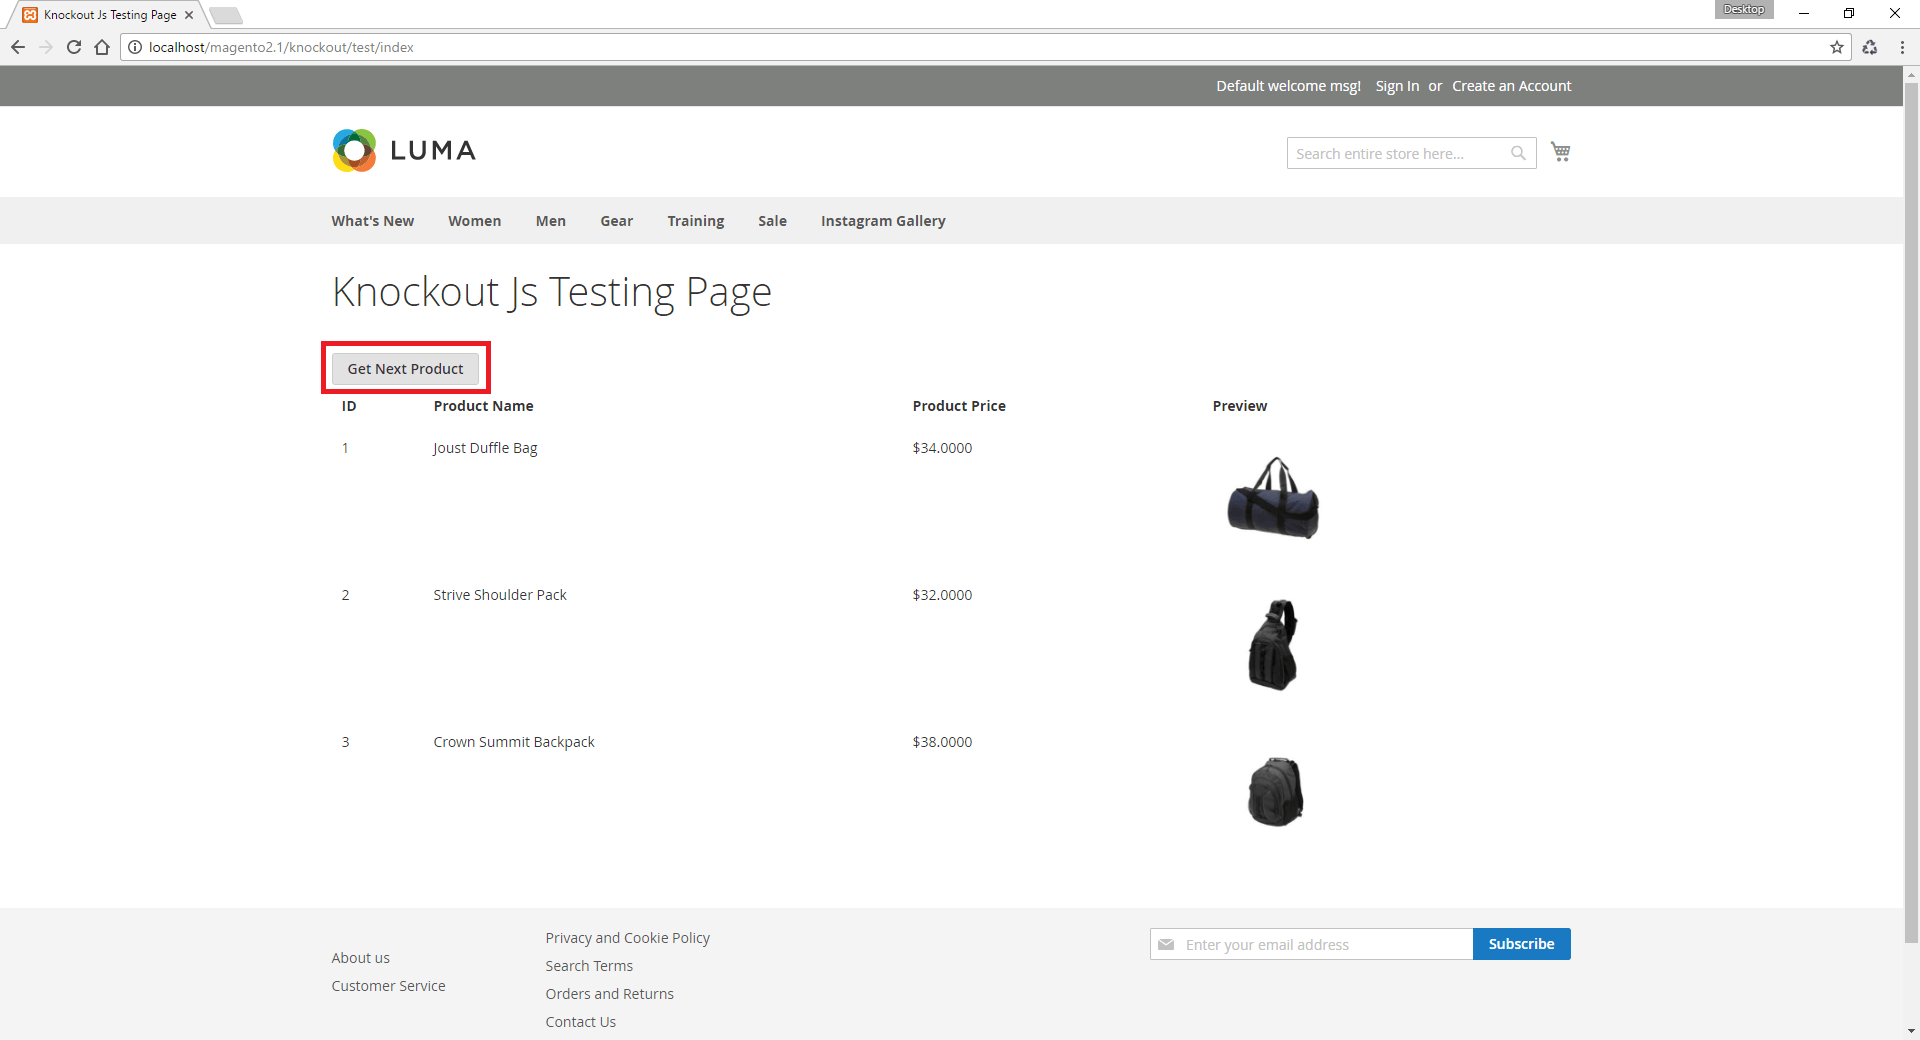
Pretty cool stuff right? - There you have it, a custom page using knockout js, pretty easy right? Hope this topic is helpful for you.


 . $product->getPrice(),
               'src' => $this->imageHelper->init($product, 'product_base_image')->getUrl(),
           ];

           echo json_encode($productData);
           return;
       }
   }
}
- Ok, that’s enough coding for today. Let’s go check out our results. (Remember to flush the cache in Magento and Refresh the cache in your browser to secure our success).
-
Our Knockout JS page is in front end. 
Each product will appear after you click the button. Pretty cool stuff right? There you have it, a custom page using knockout js, pretty easy right? Hope this topic is helpful for you. If you have any difficulty in the process of configuring Knockout JS on the front end of your Magento store, or you feel curious about our Magento development services, don’t hesitate to contact us. At Magenest we offer unparalleled quality services at unbeatable prices.